
INDIVIDUAL ATTACHMENT GUIDE
Trenching Buckets
Types, width and depth, carrier compatibility, ground conditions, teeth, wear protection, applications and maintenance.
A trenching bucket is designed to produce a narrow, controlled excavation with less unnecessary spoil than a general-purpose bucket. The correct choice depends on the required trench profile, soil resistance, machine size, coupler geometry and the load created by the material.
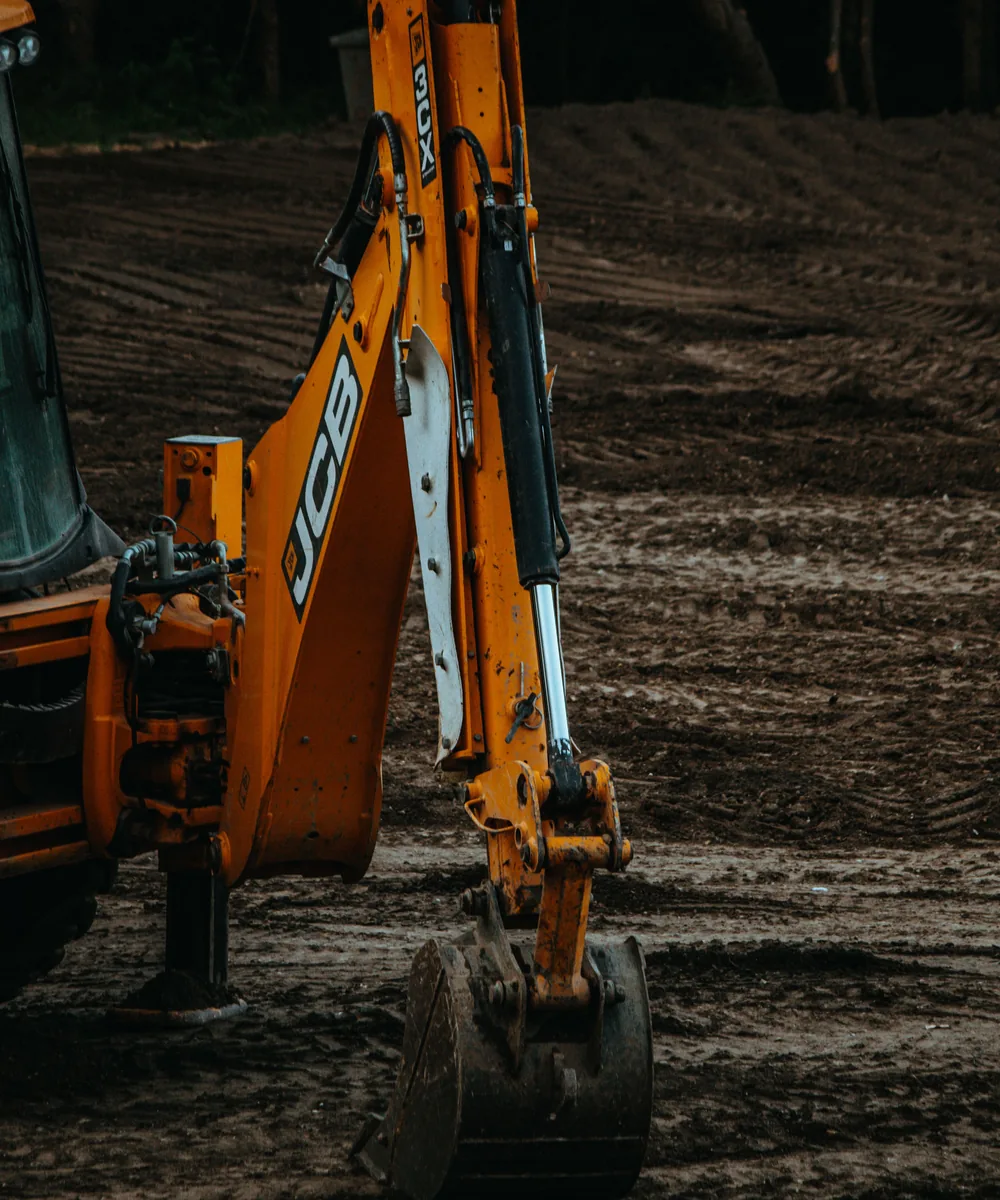
START WITH THE JOB
Select the trench profile before the bucket
The most useful starting point is the trench that must be produced—not the largest bucket the excavator can carry. Width, depth, bottom shape and clearance around the installed service determine which bucket geometry is practical.
STEP 1
Define the trench
Record the required bottom width, wall shape, working depth and clearance around pipe, cable, duct, drainage stone or formwork.
STEP 2
Assess the ground
Loose soil, sticky clay, mixed fill, frost and fractured rock place very different demands on penetration, shell shape, teeth and wear protection.
STEP 3
Match the carrier
Check machine class, coupler, pin geometry, bucket weight, linkage clearance, digging force, stability and the manufacturer’s attachment limits.
STEP 4
Plan the operation
Allow for site access, trench support, spoil placement, visibility, underground services and the tools needed for bedding and final cleanup.
FUNCTION
What is a trenching bucket?
A trenching bucket is narrower than a typical digging bucket and is shaped to excavate a defined channel. Its purpose is not simply to remove soil: it should create the required trench with controllable side clearance, a usable bottom profile and as little over-excavation as reasonably possible.
The bucket normally has a deep, narrow shell and a cutting system chosen for the expected ground. Some versions use a straight cutting edge, while others use teeth to improve penetration. Side cutters, heel plates and additional wear material may be added where abrasion or impact is high.
- Narrower cut: reduces the volume of spoil and imported backfill compared with a wider general-purpose bucket.
- Deeper profile: supports efficient loading in a confined trench, provided material can release from the shell.
- Task-specific bottom: flat, rounded, tapered or V-shaped profiles can be selected for the intended service or drainage form.
- Carrier-specific mounting: the coupler or pin-on interface changes bucket position, breakout geometry and clearance.
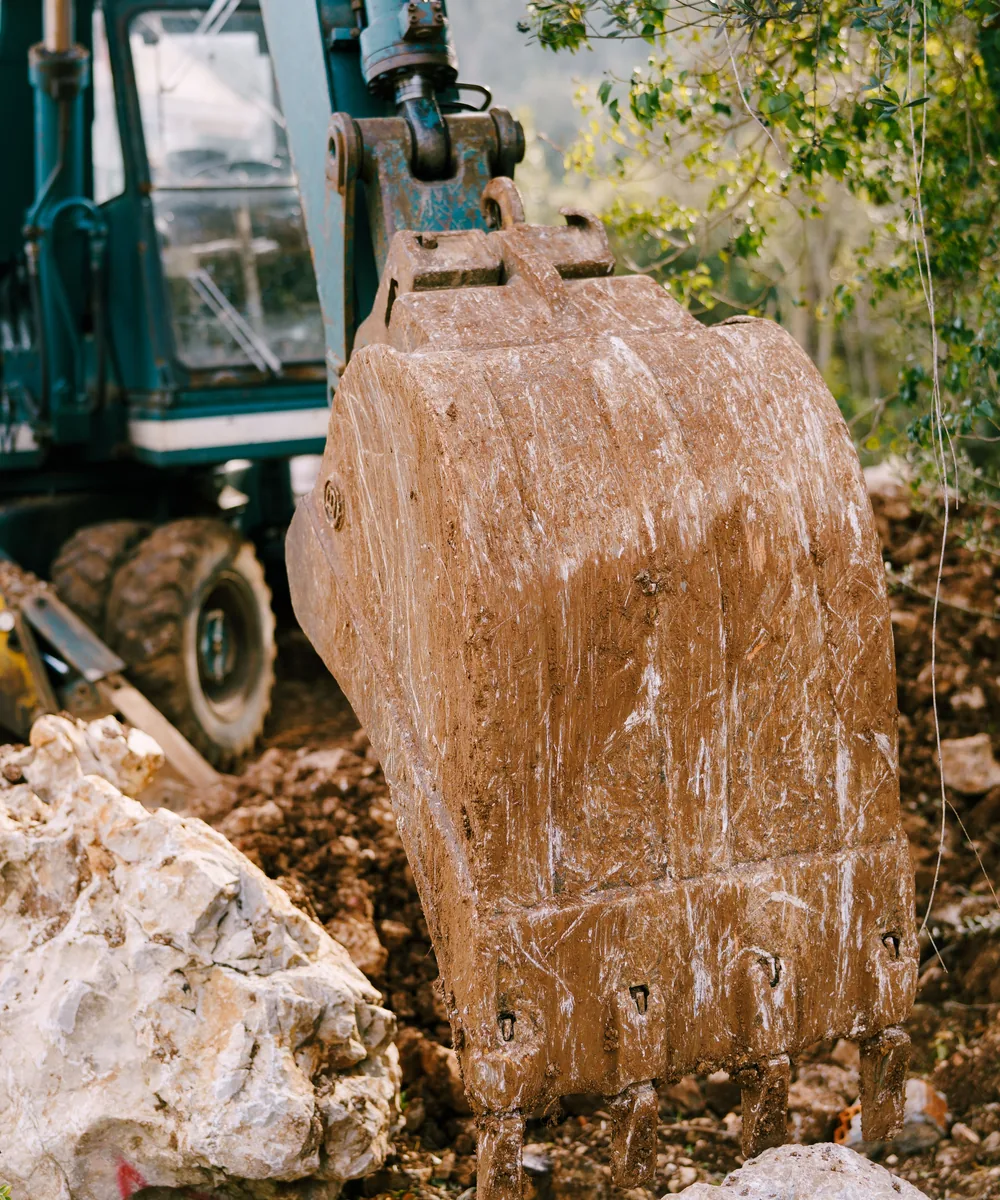
BUCKET FAMILIES
Main trenching bucket types
Names vary between manufacturers and regions, but the following functional groups cover most trenching work. Duty class and dimensions must still be confirmed for the exact carrier and ground.
TYPE 1
Narrow utility bucket
A slim bucket for cable, conduit, irrigation and small service trenches. The main advantage is reduced excavation volume where working clearance is limited.
TYPE 2
Standard trenching bucket
A general trench bucket with enough width for common drainage, pipework and foundation services. It balances penetration, capacity and material release.
TYPE 3
Heavy-duty trench bucket
A reinforced version for compacted ground, mixed fill and sustained production. It may use stronger corners, thicker wear areas and more robust ground-engaging tools.
TYPE 4
Cable or deep-profile bucket
A long, narrow shell intended for deep, restricted cuts. Check material release carefully because sticky soil can bridge inside a narrow profile.
TYPE 5
V-shaped trench bucket
Forms a sloped or V-shaped channel in one pass. It is commonly considered for drainage and water management where the finished cross-section matters.
TYPE 6
Frost or rock trench bucket
A compact reinforced profile with aggressive teeth for hard ground. It is not a substitute for ripping or breaking when the material exceeds the bucket’s intended duty.
WIDTH, DEPTH & LOAD
Size the bucket around the finished trench
A bucket that is too wide creates unnecessary spoil, bedding and reinstatement work. A bucket that is too narrow may leave no practical space for installation, compaction, inspection or safe access. Use the project requirements and the machine limits together.
Width
Start with the outside dimension of the service or structure, then add the specified working clearance. Include couplings, pipe bells, jointing equipment, compaction tools and any trench support that occupies space.
Depth and reach
Confirm that the excavator can reach the required bottom while remaining stable and correctly positioned. Bucket height, coupler length and rotation geometry all affect the practical digging envelope.
Loaded weight
Estimate the bucket’s loaded mass using realistic material density. Wet soil and dense aggregate can make a small bucket load much heavier than dry loose material. The carrier must control the load throughout the real working radius.
Simple check: loaded attachment mass = empty bucket mass + material volume × realistic bulk density.
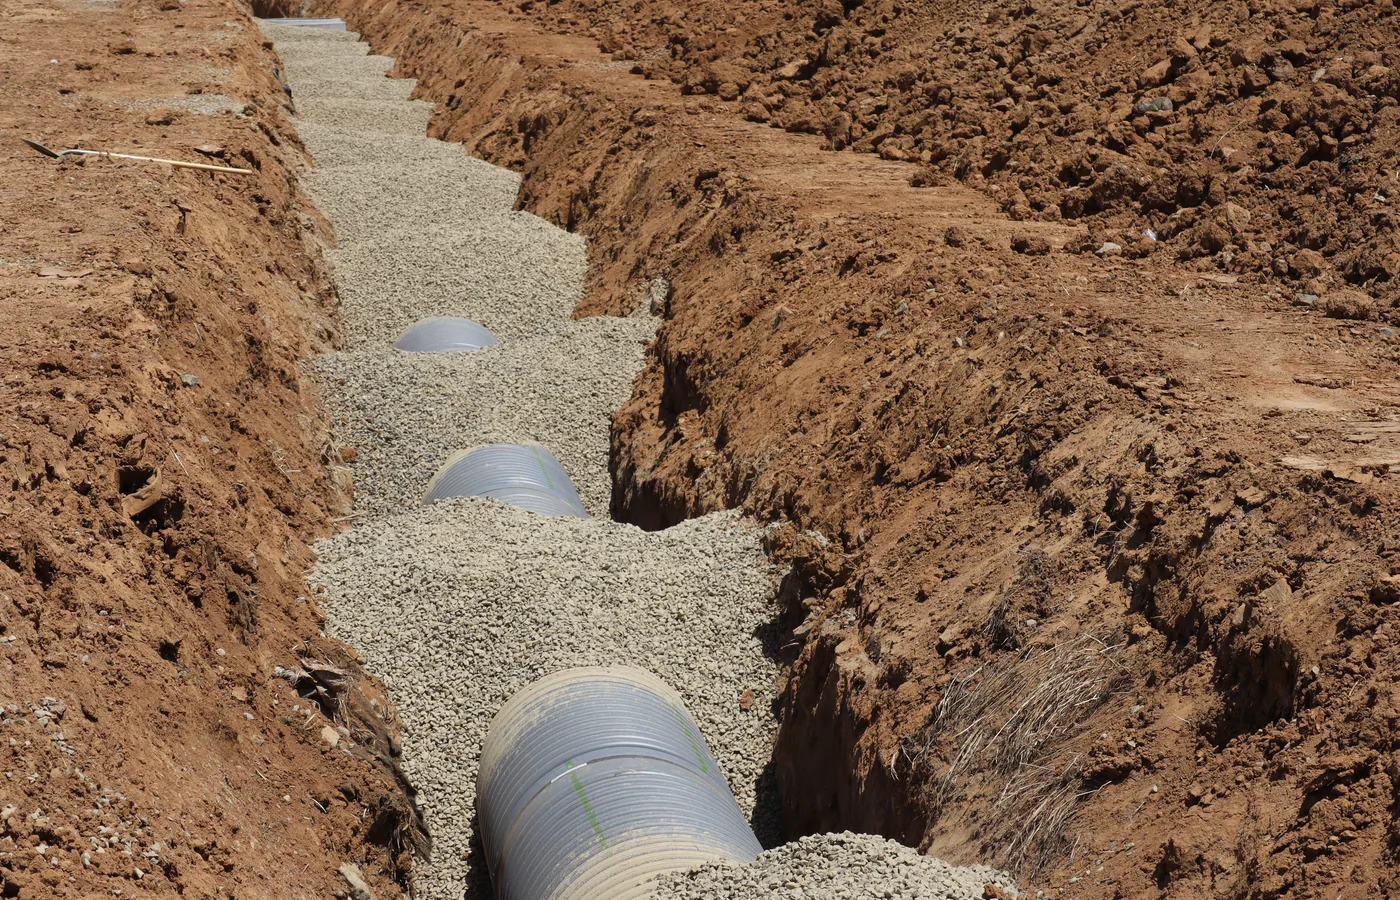
DIMENSION CHECK
Measurements that should be confirmed
Catalogue width alone is not enough. Request a dimensional drawing and compare it with the trench specification, coupler and carrier configuration before ordering.
| Item | What to verify | Risk if ignored |
|---|---|---|
| Trench bottom width | Set by the installed service, working clearance and specification | Over-excavation or insufficient installation space |
| Bucket shell width | Confirm at the widest point, not only the cutting edge | Unexpected wall contact or excess spoil |
| Bucket depth/profile | Balance capacity, material release and required digging depth | Soil packing, slow cycles or poor visibility |
| Empty bucket mass | Include coupler, adapter and any tilt device | Reduced stability and usable payload |
| Material condition | Use wet or dense conditions where credible | Underestimated loaded weight |
| Carrier geometry | Check full curl, dump and stick clearance | Contact with linkage, coupler or trench wall |
MACHINE MATCH
Carrier and coupler compatibility
The bucket, coupler and excavator form one system. A bucket can physically attach and still be a poor match if the geometry reduces curl, causes interference, exceeds the permitted mass or places the cutting edge in the wrong working position.
- Machine class: use the bucket manufacturer’s approved carrier range and the excavator manufacturer’s attachment limits.
- Mounting interface: verify pin diameters, pin centres, ear width, coupler standard and locking requirements.
- Linkage clearance: model or physically check full curl and dump positions, especially with quick couplers or tiltrotators.
- Hydraulic and structural limits: a normal trench bucket is passive, but any tilting or powered option adds hydraulic requirements and additional mass.
- Stability: assess the loaded bucket at the least favourable reach, slew position, undercarriage orientation and ground condition used on site.
- Transport and access: confirm the bucket profile does not create unexpected transport width or interfere with site barriers and trench support.
Use approved locking parts and follow the coupler inspection procedure after every attachment change. Compatibility should be confirmed from drawings and manufacturer data rather than appearance alone.
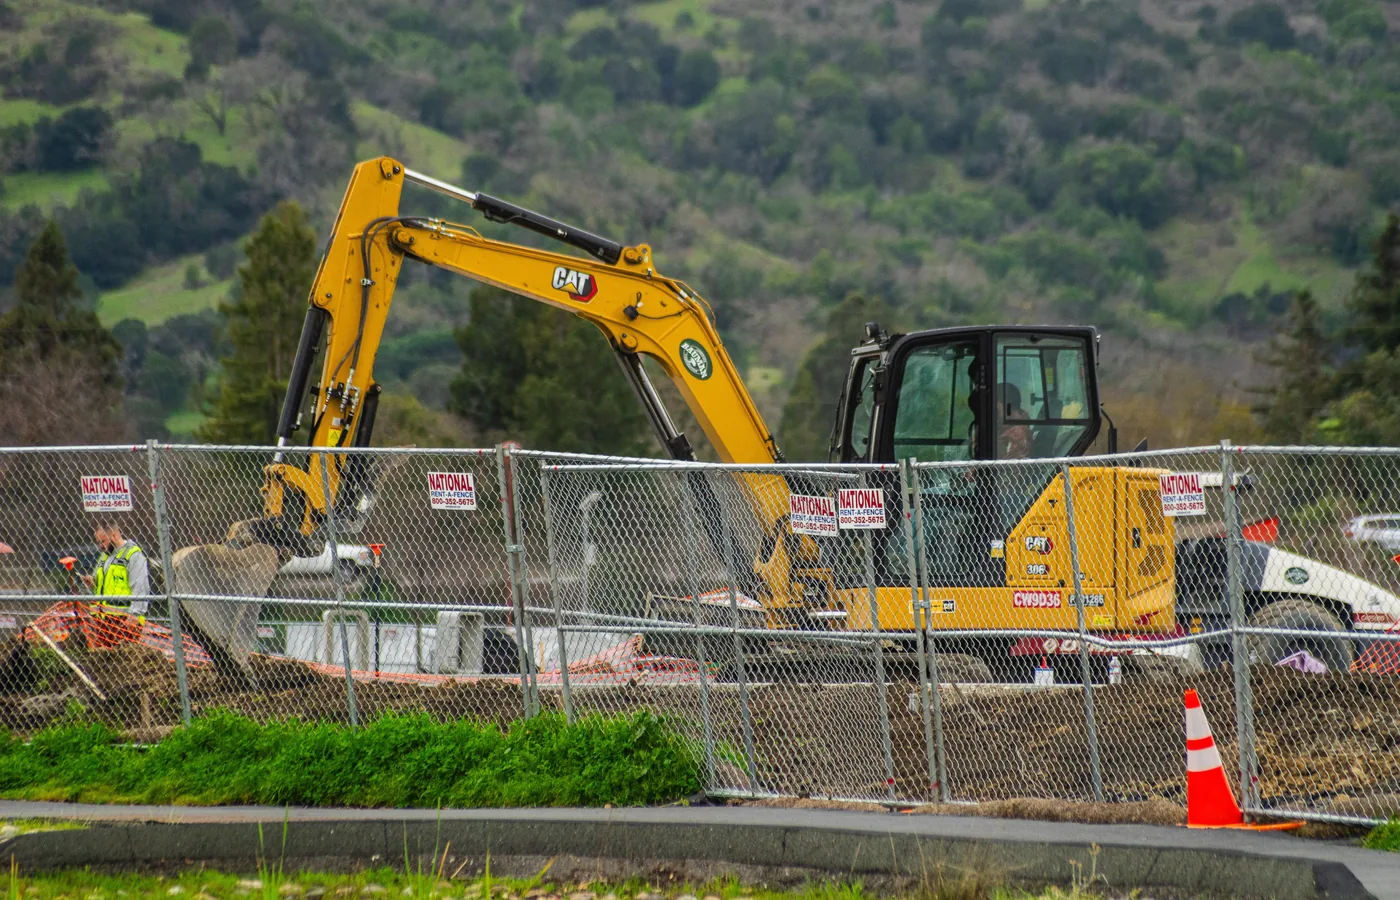
GROUND CONDITIONS
Choose the shell and cutting system for the material
The same trench width can require very different buckets depending on resistance, abrasion, stickiness and the presence of stone or demolition debris. Match the duty class to the hardest credible condition—not only the easiest material visible at the surface.
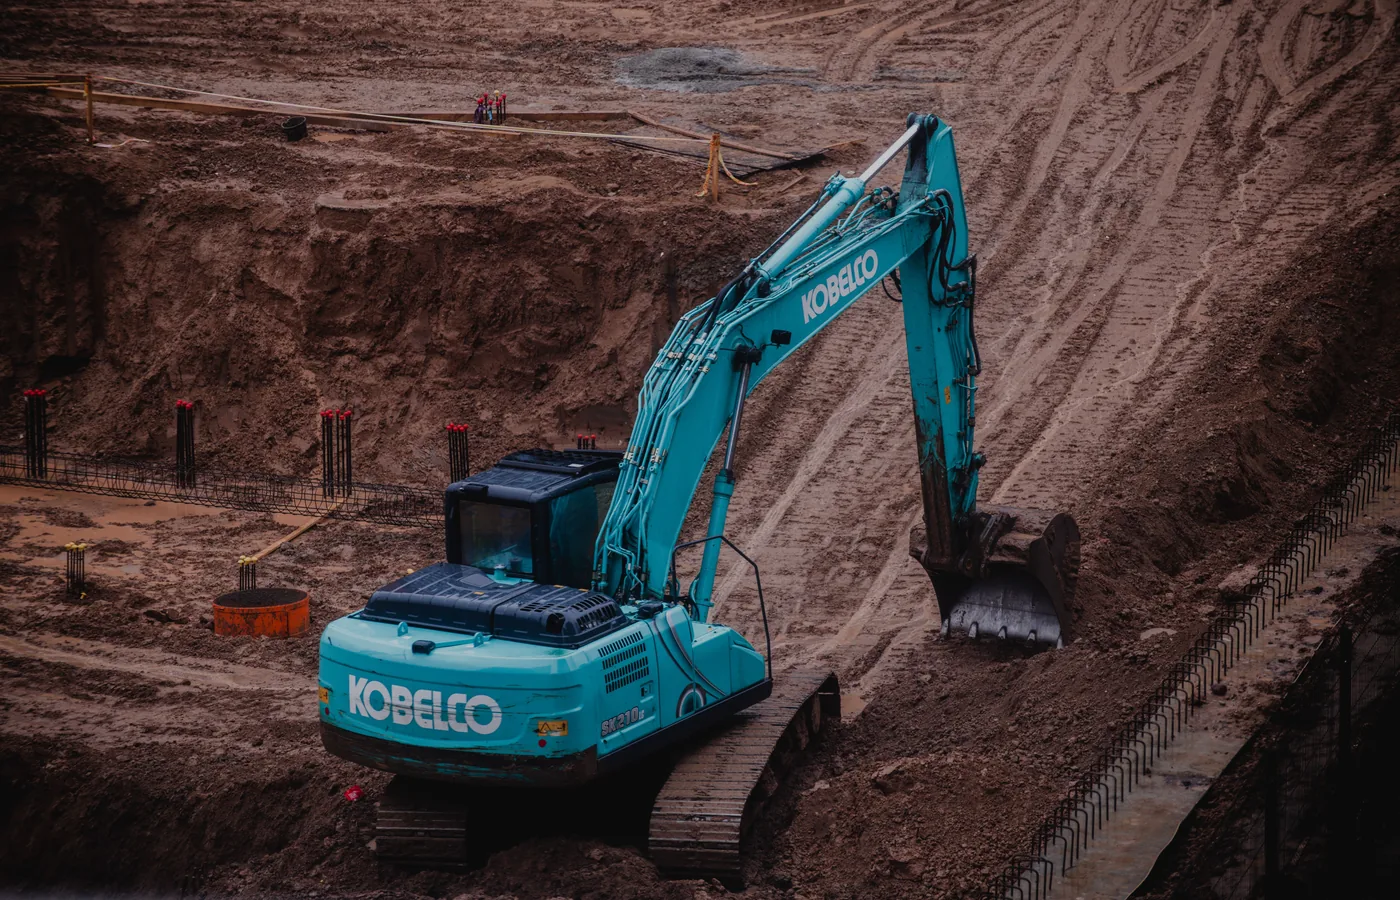
Loose soil, sand and soft ground
A relatively open shell can fill quickly in loose ground, but high capacity is not always useful in a narrow trench. Prioritise clean release and enough control to trim the bottom without removing excess material.
- A smooth or lightly toothed edge may be adequate where penetration demand is low.
- Avoid an excessively deep, closed shell if damp material is likely to stick.
- Check wall stability and water conditions before relying on the bucket to maintain a clean profile.
- Use shallow trimming passes for final level rather than repeatedly overfilling the bucket.
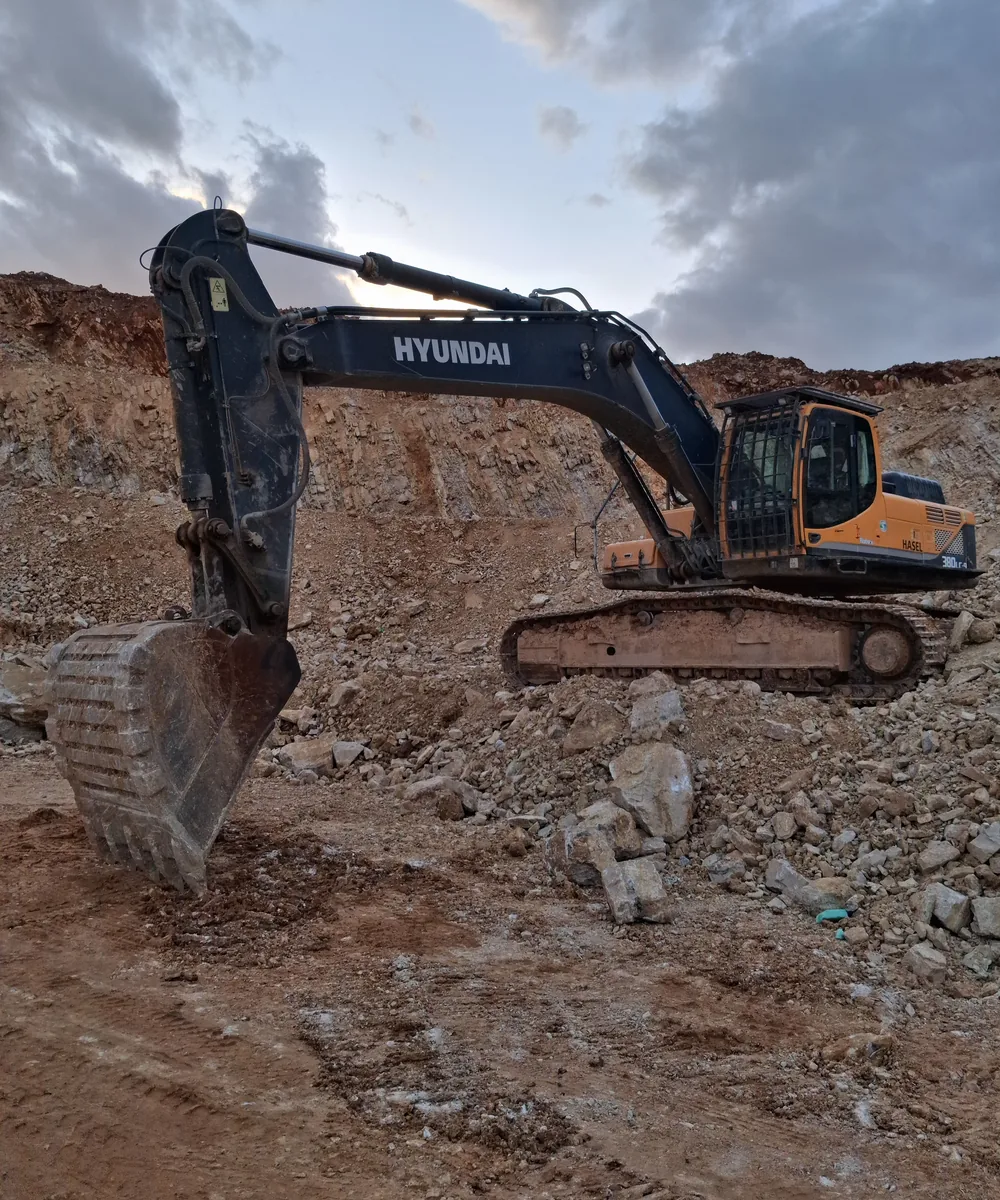
Compacted fill, clay and rocky ground
Harder material increases stress at the cutting edge, corners, side plates, pins and coupler. Teeth can concentrate force, while reinforced wear zones protect the shell. However, a trench bucket should not be used as a breaker or pry bar.
- Select the correct tooth style and adapter system for penetration and serviceability.
- Use side protection where trench walls or abrasive stone continuously contact the bucket.
- Consider pre-ripping or a hydraulic breaker when the ground cannot be excavated efficiently within the bucket’s rated duty.
- Inspect welds, ears and corner wear more frequently after impact-heavy work.
BUCKET GEOMETRY
Shell shape, teeth and wear protection
A trenching bucket must penetrate, load, retain and release material inside a narrow cut. These functions can conflict: a very deep shell may carry more, while a more open shell may empty faster and remain easier to see.
Cutting edge and teeth
A straight edge produces a cleaner bottom in easy ground. Teeth improve penetration in compacted material but leave a more disturbed finish. Replaceable systems simplify maintenance when wear is concentrated at the front.
Side profile and taper
Some taper from front to rear can reduce side friction and help material release. Too much width behind the cutting edge can enlarge the trench or rub against the walls.
Wear zones
Typical high-wear areas include the cutting edge, corners, side plates, heel and lower shell. Protection should be sufficient for the duty without adding unnecessary mass or creating points that disturb the trench.
Mounting ears
The ear group transfers digging and breakout forces into the bucket. Check for deformation, cracks, worn bores and incorrect coupler contact as part of routine inspection.
COMMON APPLICATIONS
Where trenching buckets are used
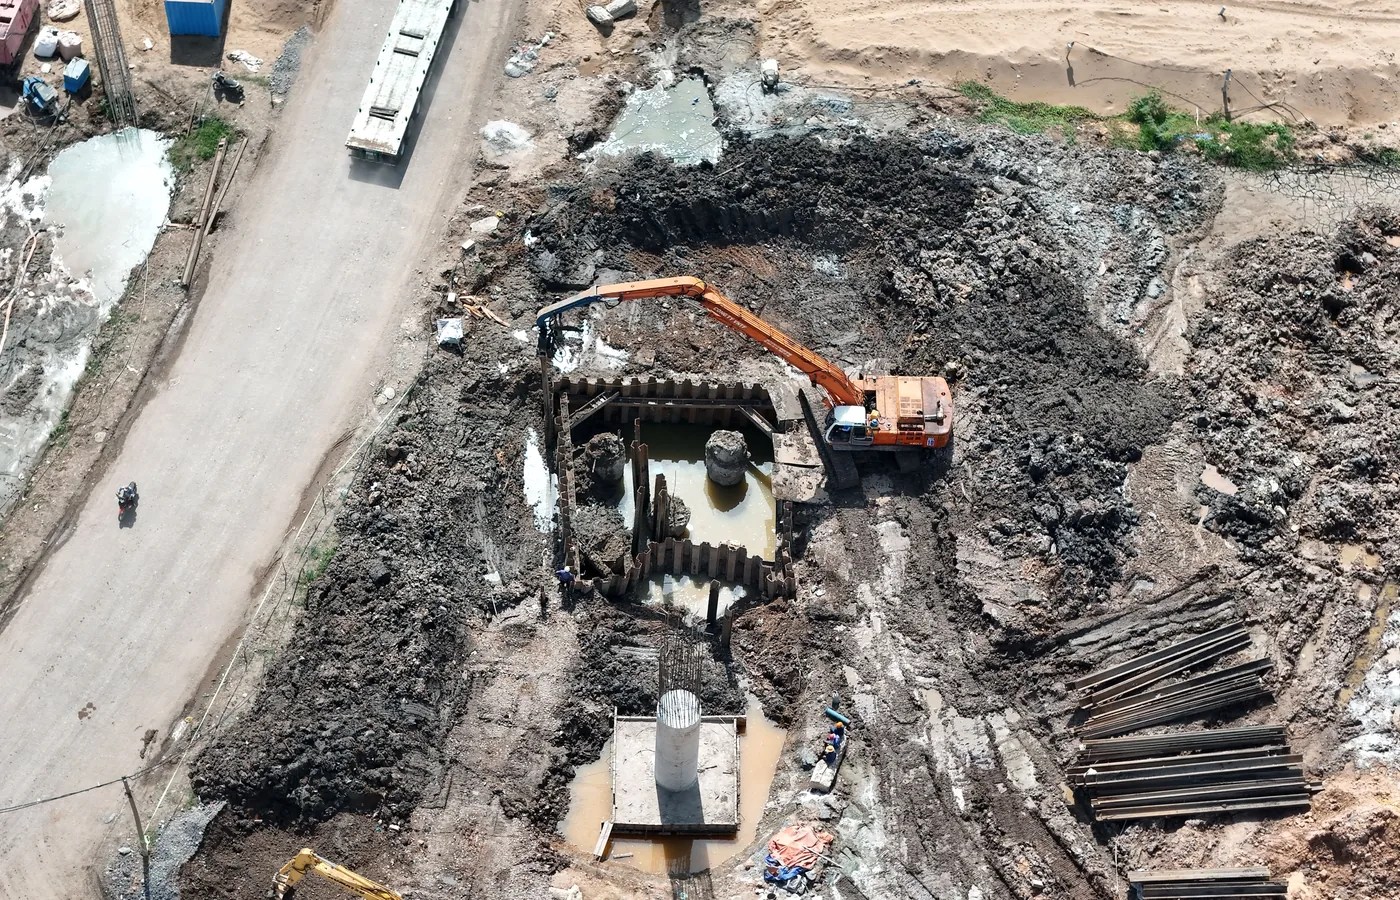
Trenching buckets are used wherever a controlled narrow excavation reduces reinstatement and keeps the work close to the required profile. The bucket still needs to be matched to the service, ground and site controls.
Utilities, cable and conduit
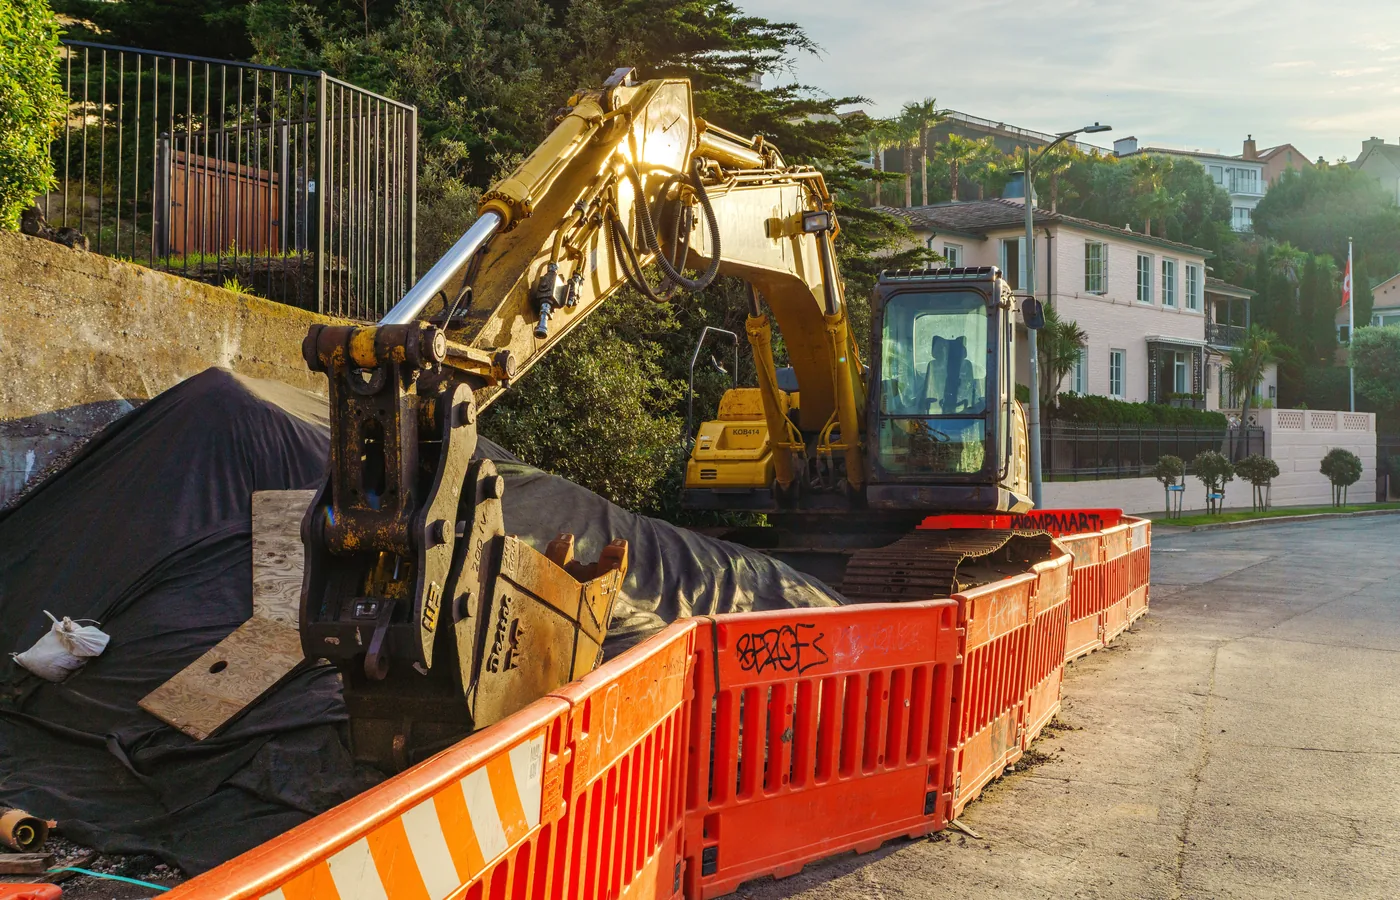
Narrow buckets reduce disturbance when installing power, communications, water, irrigation and small ducts. Before excavation, services must be located and the approved digging method established. Bucket width must leave the specified room for jointing, bedding and inspection.
In urban work, access, traffic control, spoil storage and nearby structures can be as important as digging performance. Compact carriers and clearly defined exclusion areas help manage the limited workspace.
Foundations and building services
Trench buckets can excavate strip footings, service runs and drainage around construction sites. The bucket should provide adequate working width without undermining adjacent ground or removing more material than the design requires.
Close to foundations, the operator needs predictable geometry and good visibility. A smaller finishing bucket may be useful after the main cut for trimming corners and removing loose spoil.
Road drainage and infrastructure
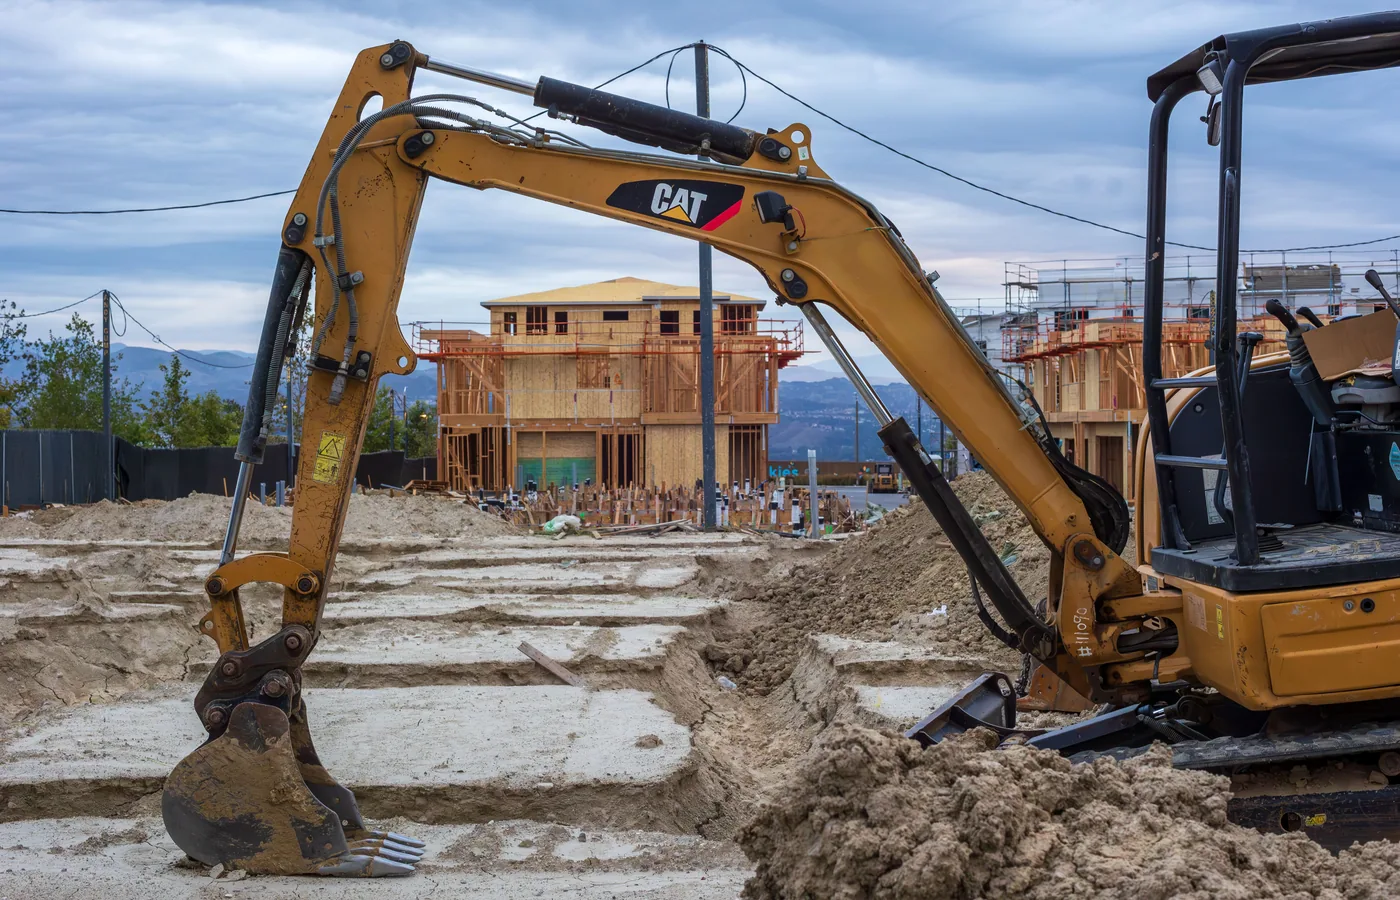
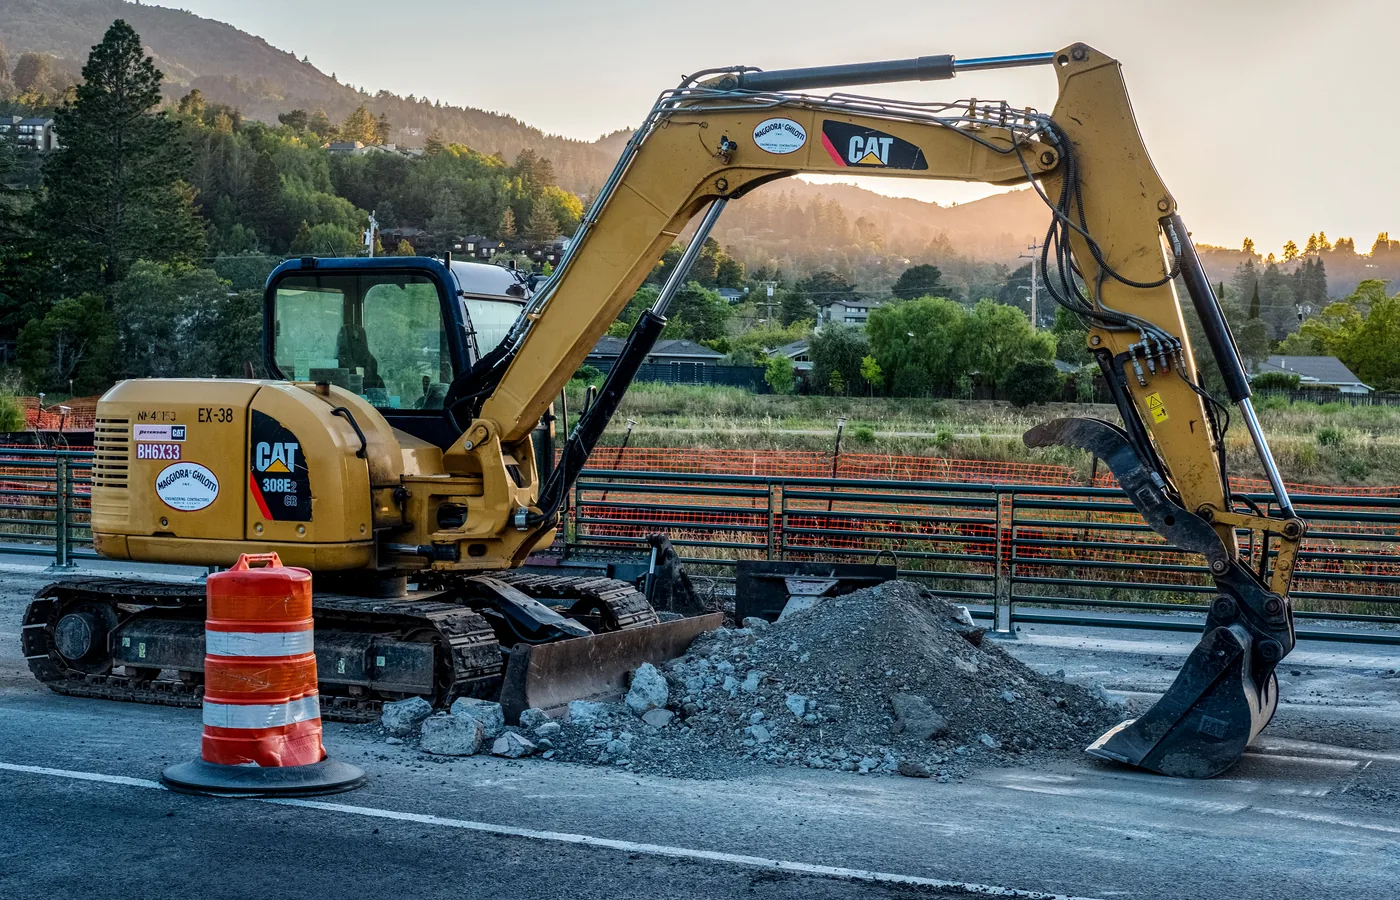
Road projects use trench buckets for drainage, ducts, kerb services and repairs. The working method must account for traffic management, existing utilities, pavement edges and the need to restore compacted layers.
A narrow excavation may reduce removed pavement and imported material, but only when it still provides the space needed for safe installation and correct compaction.
OPERATING TECHNIQUE
Produce a cleaner trench with controlled passes
Good trenching depends on alignment, machine position and repeatable bucket control. The goal is to remove only the required material while maintaining a stable work platform and a clear view of the cut.
- Set the machine square to the trench: poor alignment encourages side loading and an uneven bottom.
- Open the trench progressively: establish the line and depth with controlled cuts rather than forcing the full profile in one pass.
- Keep the bucket in its intended direction: avoid twisting, prying or dragging the side plate against fixed objects.
- Use the teeth for penetration: do not strike the ground with the bucket or use the coupler as an impact tool.
- Manage spoil placement: keep excavated material where it will not overload the trench edge, block access or contaminate bedding material.
- Trim the bottom separately: light finishing passes improve level and reduce loose material before bedding or concrete work.
- Stop when conditions change: unexpected services, groundwater, unstable walls or hard obstructions require reassessment rather than more force.
The machine and bucket do not replace project-specific excavation controls. Follow the site plan, machine instructions and local requirements for underground services, excavation stability, access and lifting.
SITE SAFETY
Trench safety is more than bucket selection
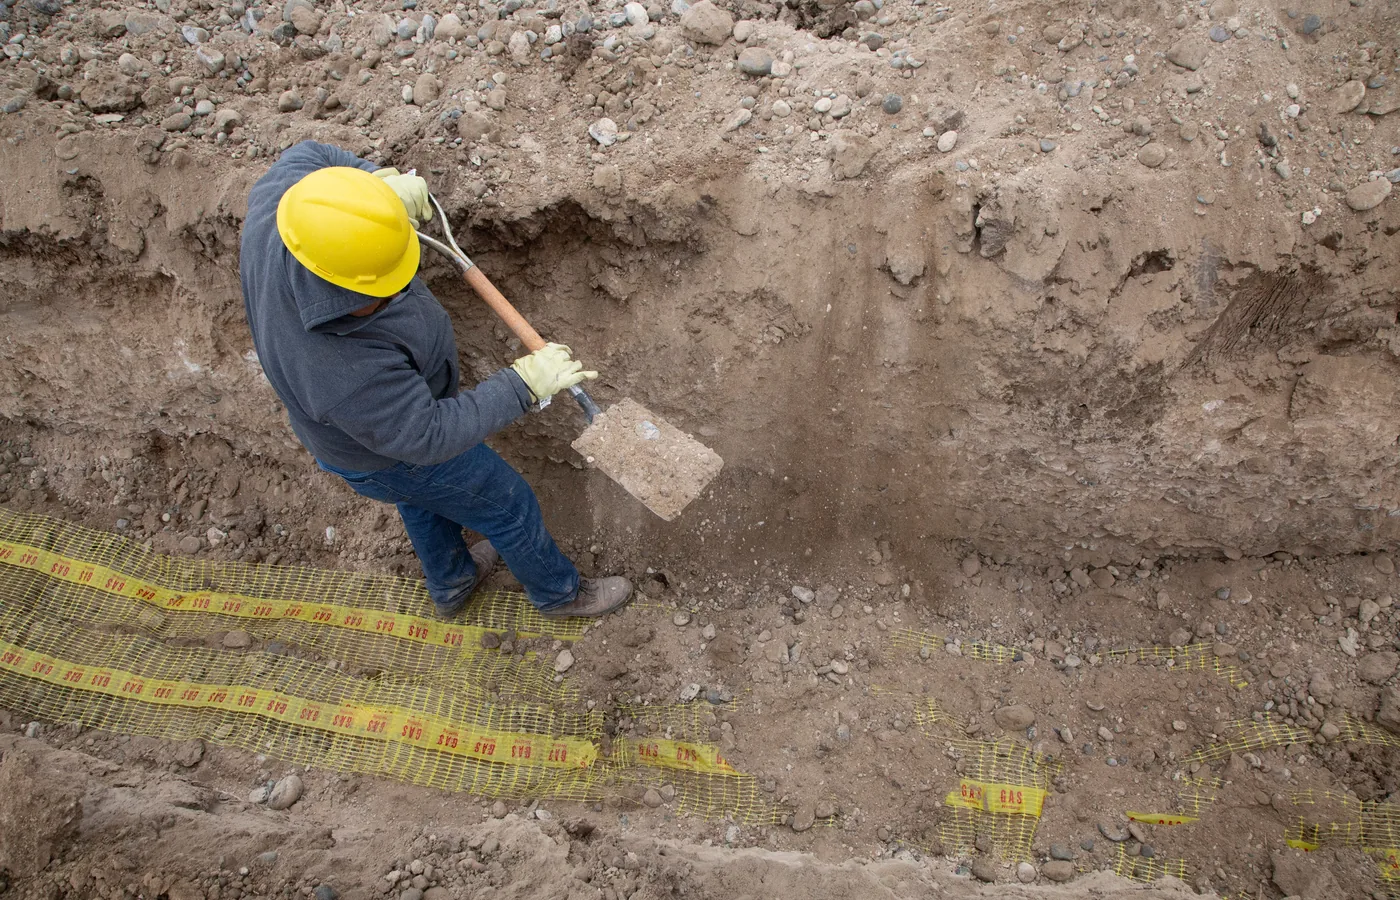
Excavations can expose people to collapse, falling material, buried services, water, traffic and machine movement. The bucket guide cannot determine whether a trench is safe to enter or how it must be supported.
- Use the required service-location and excavation-permit process before digging.
- Keep people outside the machine’s operating and swing area unless the approved procedure requires otherwise.
- Have trench stability, protective systems and access assessed by competent personnel for the site and jurisdiction.
- Control spoil, materials, machines and vibration near the excavation edge.
- Reassess after rain, groundwater changes, vibration, wall movement or any unexpected ground condition.
- Never use the bucket as a personnel platform or rely on it as trench support.
Follow the excavator, coupler and bucket manufacturer instructions together with the project method statement and applicable regulations.
INSPECTION
Trenching bucket maintenance
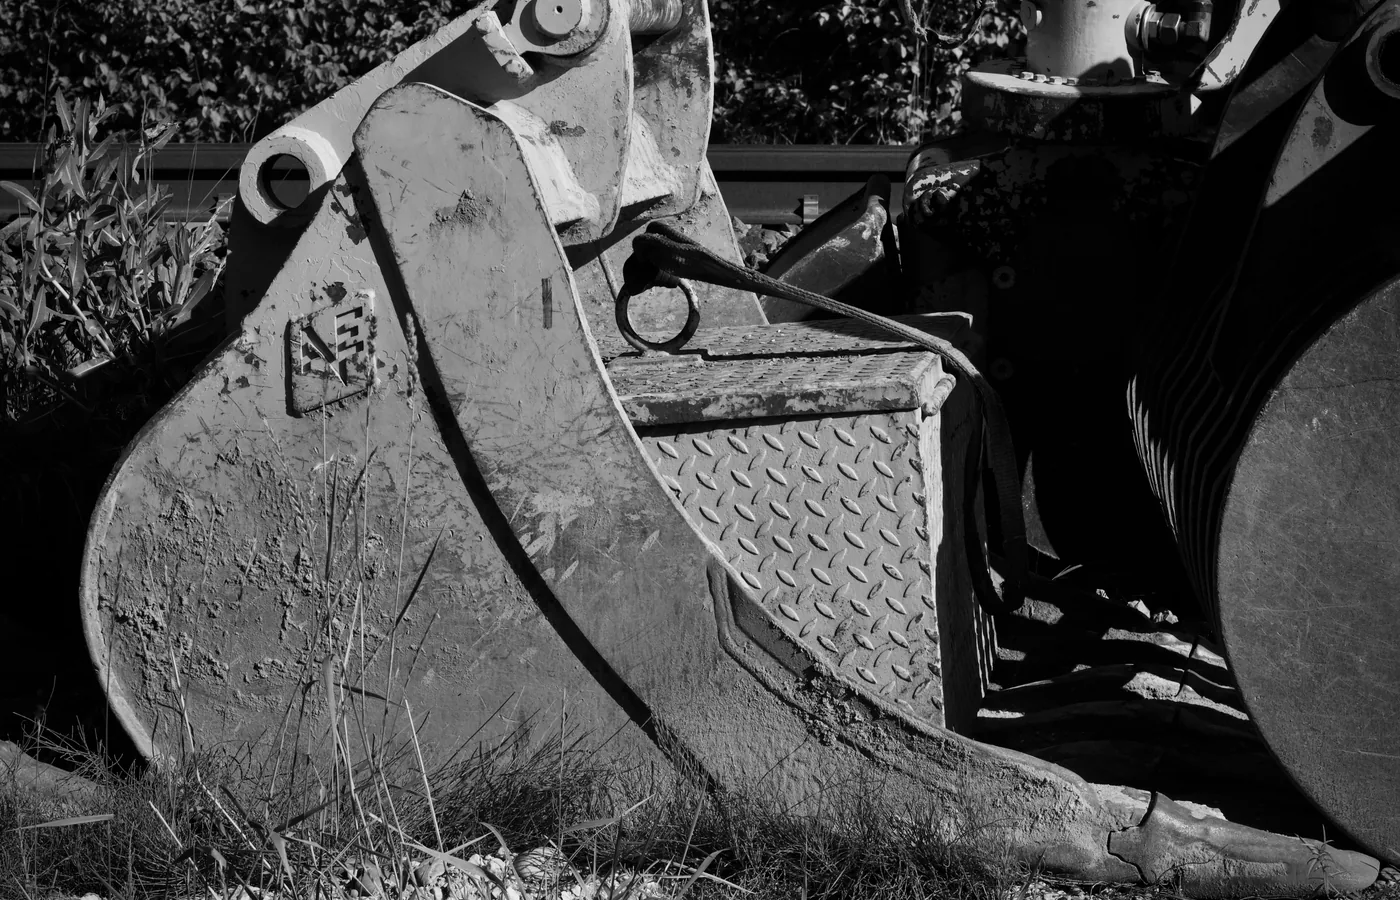
Narrow buckets concentrate digging force into a small cutting width. Regular inspection is therefore important even when the bucket is used on a relatively small carrier.
- Before use: inspect the cutting edge, teeth, adapters, retainers, side cutters, shell, ears, pins and coupler contact areas.
- Clean packed material: remove clay and debris that hide cracks, prevent proper locking or increase corrosion.
- Track wear: compare tooth length, edge thickness and heel wear over time instead of waiting for structural material to disappear.
- Check mounting bores: excessive clearance changes bucket control and increases shock loading.
- Inspect welds: look closely around ears, corners, wear plates and repaired areas after hard or rocky work.
- Repair correctly: use approved materials, welding procedures and replacement parts suitable for the bucket steel and duty.
- Record damage: repeated cracking or uneven wear may indicate a geometry, application or operating problem rather than normal consumption.
Remove the bucket from service when damage could affect retention, structural integrity or safe operation. Follow manufacturer limits for repair and replacement.
BUYING CHECKLIST
Information to collect before ordering
A good supplier can only match the bucket accurately when the machine, interface, trench and ground are defined. Send drawings or data rather than relying on machine model alone.
MACHINE
Carrier details
Exact excavator model, operating weight, boom and arm configuration, counterweight, track or tyre setup and attachment limits.
INTERFACE
Coupler or pin-on data
Coupler make and model, interface standard, pin dimensions, ear width, pin centres, locking method and any tiltrotator or adapter.
TRENCH
Required profile
Bottom width, depth, wall shape, service outside diameter, joint dimensions, bedding thickness and required installation clearance.
GROUND
Material and duty
Soil type, moisture, compaction, stones, frost, demolition debris, abrasion and expected working hours.
CUTTING
Teeth and edge
Smooth edge or teeth, replaceable system preference, side cutters, corner protection and finish required at the trench bottom.
DOCUMENTS
Data and support
Dimensional drawing, bucket mass, rated carrier range, capacity definition, wear-part list, warranty and repair guidance.
COMMON SELECTION ERRORS
Avoid these trenching bucket mistakes
- Choosing width from pipe diameter alone: joints, bedding, compaction and installation access also require space.
- Using a narrow light-duty bucket in hard fill: concentrated force can damage the edge, corners, shell and mounting group.
- Ignoring sticky material release: a deep narrow bucket may return full from the trench and waste time cleaning.
- Assuming every coupler has the same geometry: bucket rotation, breakout force and interference can change significantly.
- Oversizing for capacity: a trench bucket is primarily a profile tool; excess volume can reduce control and carrier stability.
- Using the bucket to pry or break: side loading and impact can exceed the intended load path.
- Waiting until teeth disappear: worn ground-engaging tools can expose more expensive structural parts.
- Planning excavation without the installation method: the narrowest possible cut is not always the correct or permitted trench.
The best bucket is the one that produces the specified trench efficiently while remaining within the approved machine, interface and site limits.
FREQUENTLY ASKED QUESTIONS
Trenching bucket FAQ
What is the difference between a trenching bucket and a digging bucket?
A trenching bucket is generally narrower and deeper, with a profile intended to create a controlled channel. A digging bucket is broader and more versatile for bulk excavation and loading. The exact distinction varies by manufacturer.
How wide should a trenching bucket be?
Use the required trench bottom width, including the installed service and specified working clearance. Also account for joints, bedding, compaction tools, trench support and the actual widest part of the bucket shell.
Should a trenching bucket have teeth?
Teeth improve penetration in compacted or stony ground. A smooth edge can leave a cleaner bottom in easy material. Replaceable teeth may be preferred where wear is high, but the correct system depends on ground and duty.
Can a trenching bucket be used in rock?
Only when the bucket is rated for the material and the rock is excavatable with the carrier. Hard intact rock may require ripping, breaking or another method. Do not use the bucket as an impact tool or pry bar.
Can the narrowest bucket always reduce cost?
No. A very narrow trench can slow loading, hold sticky material and leave insufficient room for installation or compaction. The correct width is the narrowest profile that still satisfies the complete work method and specification.
Does a quick coupler affect trenching performance?
Yes. A coupler changes bucket position, weight and linkage geometry. It can influence breakout, curl range, trench-wall clearance and visibility. Verify compatibility using the exact coupler and bucket drawing.
How is bucket capacity compared?
Capacity definitions can differ, so compare manufacturer data using the same measurement method. For carrier loading, combine the empty bucket mass with a realistic material load rather than using volume alone.
What should be inspected most often?
Focus on the locking interface, mounting ears, pins, tooth retainers, cutting edge, corners, side plates, heel and welds. Frequency should increase in abrasive, impact-heavy or rocky ground.
RELATED GUIDES
Continue your attachment research
Use the related pages to compare broader digging tools, finishing buckets, machine compatibility and the complete earthmoving category.
ATTACHMENT GUIDE
Digging Buckets
Compare general excavation bucket types, sizing, teeth, wear protection and carrier compatibility.
ATTACHMENT GUIDE
Grading Buckets
See smooth-edge and tilt buckets for levelling, shaping, cleanup and ditch finishing.
CATEGORY
Earthmoving Attachments
Browse buckets, rippers, augers, compactors and other ground-working attachments.
MACHINE GUIDE
Excavator Attachments
Review the main attachment families used on crawler, wheeled and compact excavators.
COMPLETE MACHINE MATCH
Match the trench, bucket and excavator as one system
Use exact machine configuration, coupler geometry, trench dimensions, material conditions and the installation method before making a final selection.