
INDIVIDUAL ATTACHMENT GUIDE
Digging Buckets
Types, carrier compatibility, bucket geometry, teeth, applications and maintenance.
A digging bucket is simple in appearance but highly sensitive to machine size, linkage geometry, material density, width, capacity and wear configuration. A bucket that merely fits the coupler is not necessarily a productive or safe match.
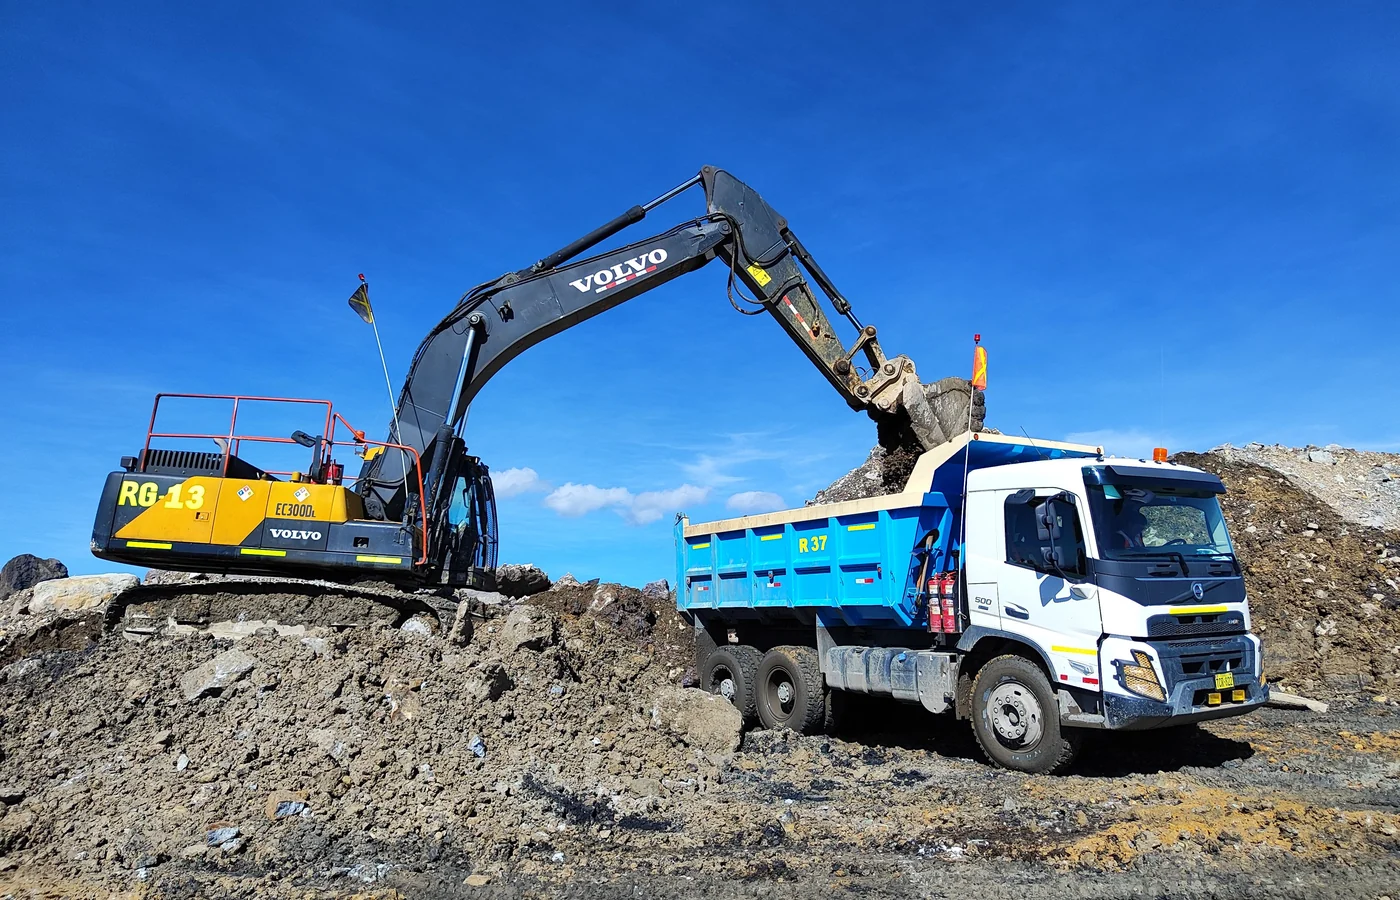
NAVIGATE THE GUIDE
Find the information you need
Use the four routes below to move directly to the main technical sections.
START HERE
Bucket Types
Compare general-purpose, heavy-duty, severe-duty, trenching, rock and smooth-edge bucket designs.
MATCH THE CARRIER
Compatibility
Check machine model, installed weight, linkage or coupler geometry, capacity and working stability.
GROUND-ENGAGING TOOLS
Teeth & Wear
Choose teeth, cutting edges, side cutters and wear protection from the material and required finish.
FINAL DECISION
Selection Checklist
Work through the job, material, carrier, interface, bucket configuration and loaded mass.
BUCKET FUNDAMENTALS
How a digging bucket works
A digging bucket converts the excavator linkage and cylinder force into penetration, filling, carrying and dumping. Its geometry determines how efficiently those four stages happen.
The cutting edge and teeth start the cut. The shell guides material into the bucket while the side plates contain the load. Curling the linkage retains material, and the opening angle and shell profile control how cleanly it releases during dumping.
The bucket also becomes part of the machine’s load system. Its own mass, the material inside it, the coupler or tiltrotator and the working radius all affect stability and structural loading. This is why nominal excavator tonnage alone is not enough for selection.
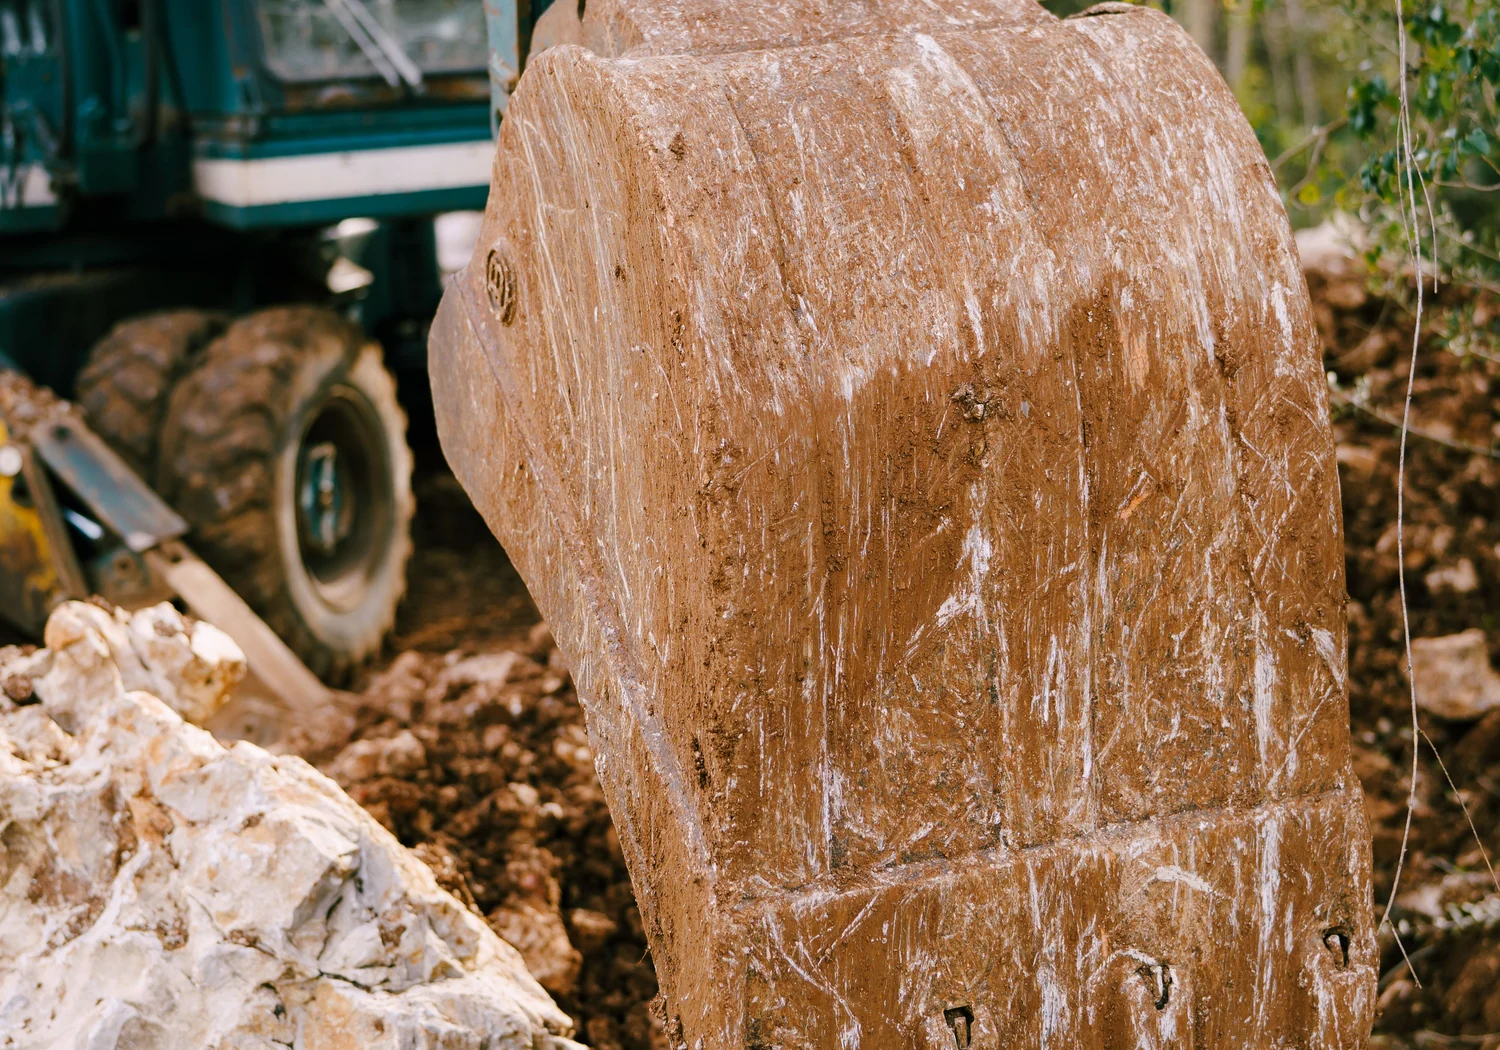
DESIGN OPTIONS
Main digging bucket types
Bucket names vary between manufacturers. Compare the actual geometry, construction, operating mass and approved material rather than relying on the label alone.
TYPE 01
General-purpose buckets
Balanced shell depth, capacity and penetration for topsoil, loam, sand, mixed soil and routine excavation.
TYPE 02
Heavy-duty buckets
More robust lip, shell and wear protection for compacted soil, gravel, stones and higher cycle intensity.
TYPE 03
Severe-duty buckets
Reinforced structure and extensive wear protection for abrasive material, repeated impact and demanding production work.
TYPE 04
Narrow or trenching buckets
Reduced width for utilities, drainage and foundations where controlled trench width and concentrated penetration are important.
TYPE 05
Rock digging buckets
Aggressive teeth, strong lip and protected corners, heels and bottom for fractured rock and high-abrasion work.
TYPE 06
Smooth-edge buckets
Toothless or bolt-on cutting edge for softer material, cleaner trench bottoms and reduced snagging.
CARRIER MATCH
Digging bucket compatibility
A correct fit requires more than matching the pins. Verify the complete carrier, coupler, bucket and working configuration before installation.
CHECK 1
Carrier operating configuration
Exact machine model, boom, arm, counterweight, track width, blade or stabilisers and manufacturer-approved bucket range.
CHECK 2
Bucket operating mass
Include teeth, side cutters, bolt-on edge, adapter plate and any installed wear package.
CHECK 3
Coupler or pin geometry
Pin diameters, centres, ear width, pickup dimensions, locking system, linkage clearance and bucket rotation.
CHECK 4
Loaded bucket mass
Use actual material density and a realistic fill factor rather than rated volume alone.
CHECK 5
Breakout and cylinder loading
The bucket must suit the linkage forces without creating excessive loads or contact through the working arc.
CHECK 6
Stability at working radius
Check the load at full reach, over the side, on slopes and with additional coupler or tiltrotator offset.
CHECK 7
Transport and clearance
Confirm overall width, machine transport limits and clearance to the arm, coupler, blade and undercarriage.
CHECK 8
Approved application
Rock, demolition spoil, frozen ground and other severe uses may require a different bucket or attachment.
| Question | What to verify | Why it matters |
|---|---|---|
| Will it physically fit? | Pins or coupler pickup, ear width, centres, clearances and lock engagement | Prevents insecure mounting, interference and poor bucket rotation |
| Can the carrier control the load? | Installed mass, realistic material load, reach and operating direction | Protects stability and structural limits |
| Is the geometry productive? | Tip radius, opening, shell depth, floor length and tooth position | Controls penetration, filling and clean dumping |
| Is the construction suitable? | Duty class, lip, shell, teeth and wear protection | Avoids rapid wear or unnecessary dead weight |
| Can it be maintained locally? | Availability of teeth, adapters, edges, pins and repair support | Reduces downtime and whole-life cost |
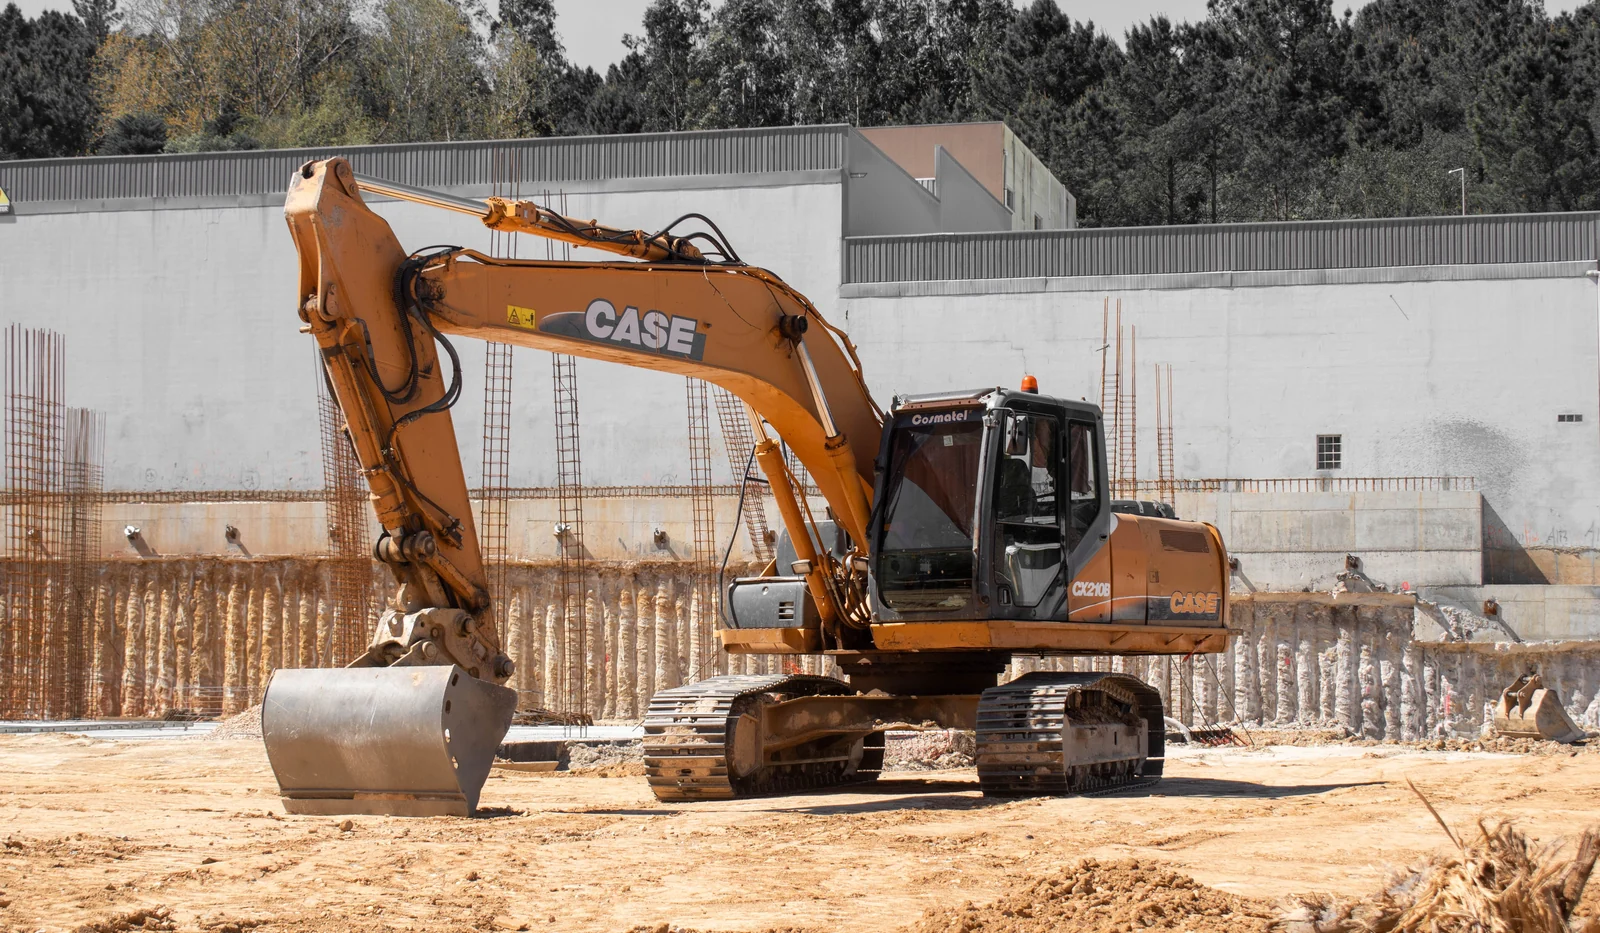
SIZE & LOAD
Width, capacity and material density
Bucket capacity is only useful when the carrier can penetrate, fill, lift, swing and dump the real load efficiently.
Loaded bucket mass = installed bucket mass + material density × actual filled volume. The practical filled volume may be lower or higher than nominal depending on material flow, moisture, bucket shape and operating technique.
A narrow bucket concentrates force and normally penetrates better, but it produces more cycles for the same excavation volume. A wider bucket can reduce cycles in soft or loose material, yet it also increases drag, loaded mass and side forces.
Dense wet clay, stone, rock and saturated material can overload a bucket size that works well in dry topsoil. Check the heaviest realistic material, not only the easiest condition on the site.
WIDTH
Start with the required cut
Choose the narrowest bucket that meets the trench or excavation requirement without creating excessive cycles.
CAPACITY
Calculate the real load
Use the bucket’s actual rated capacity, realistic fill and the material density expected on the job.
GEOMETRY
Protect penetration and release
Shell curve, side taper, floor length, opening angle and teeth influence filling, carrying and clean dumping.
WORKING RADIUS
Check the worst position
The same bucket load has a greater stability effect at long reach or when working over the side.
GROUND-ENGAGING TOOLS
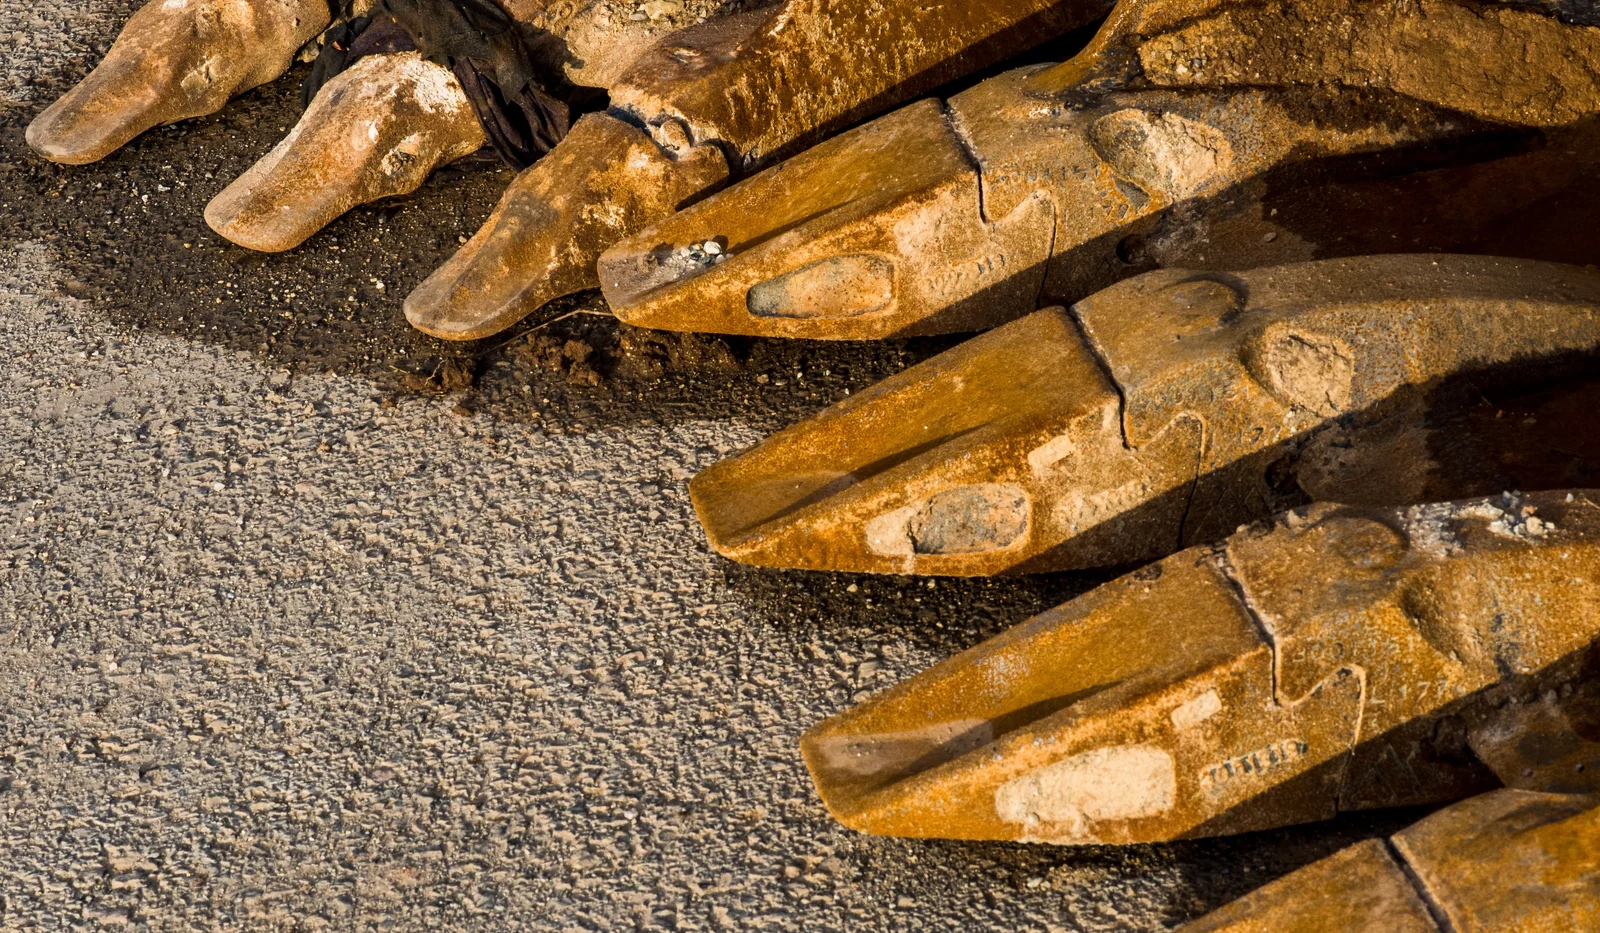
Bucket teeth, cutting edges and wear protection
Replaceable tools should preserve penetration and protect the structural bucket. Select them from the material and the finish required.
OPTION 01
Penetration teeth
Narrower profiles concentrate force in compacted soil, clay, gravel and fractured material.
OPTION 02
General-purpose teeth
Balanced penetration and wear life for mixed excavation and routine earthmoving.
OPTION 03
Rock or abrasion teeth
Heavier profiles and material distribution for abrasive ground and repeated contact with rock.
OPTION 04
Smooth cutting edge
Useful where a clean trench bottom or reduced snagging matters more than aggressive penetration.
OPTION 05
Side cutters and shrouds
Protect corners and side plates while supporting penetration and maintaining bucket width.
OPTION 06
Heel and bottom protection
Wear strips, runners and heel plates protect the zones that slide across the excavation.
WORK TYPES
Common digging bucket applications
The same basic attachment can cover many tasks, but width, tooth system, duty class and wear protection should change with the work.
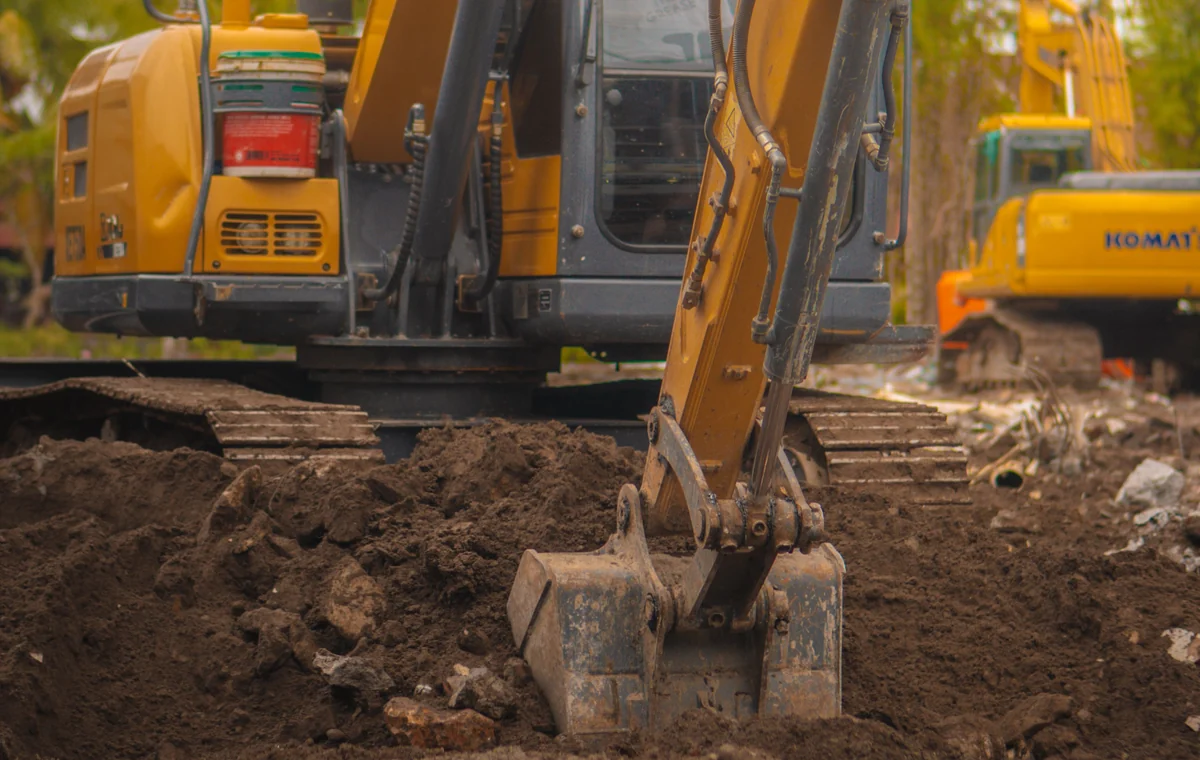
General excavation
Foundation work, site preparation and bulk soil removal in ordinary ground.
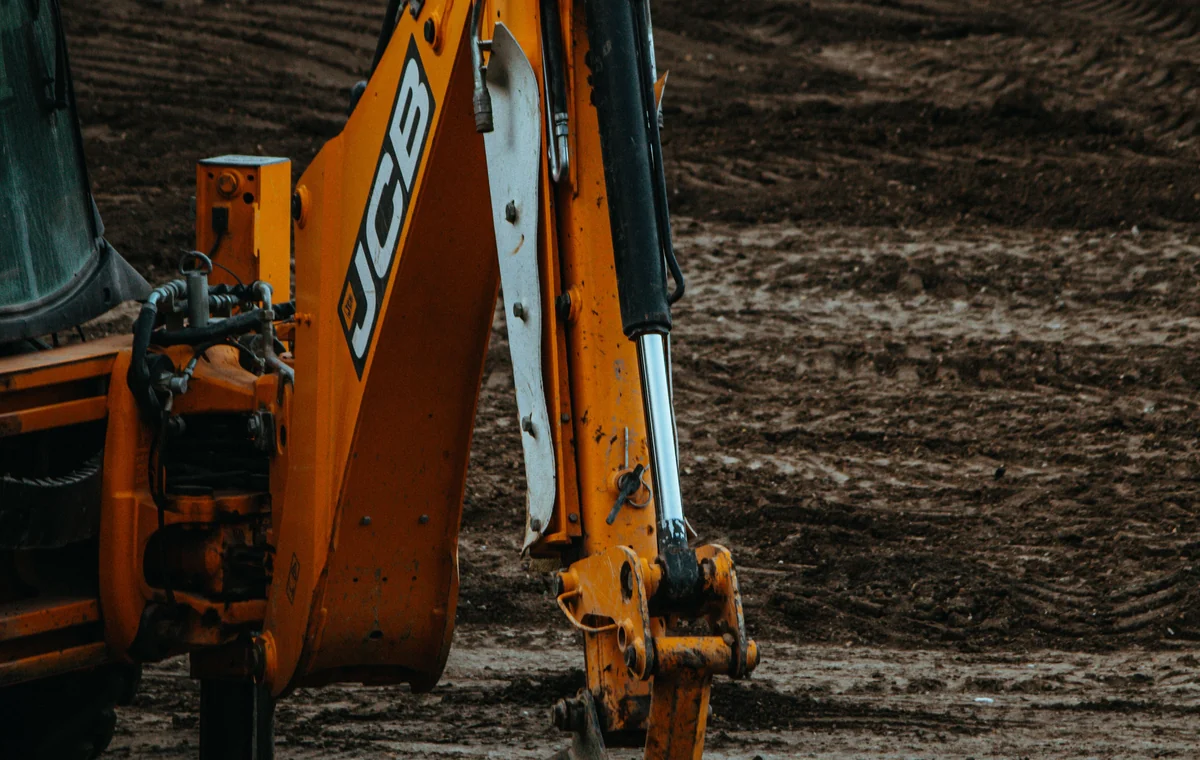
Utility trenching
Controlled trench widths for drainage, cables, pipes and services.
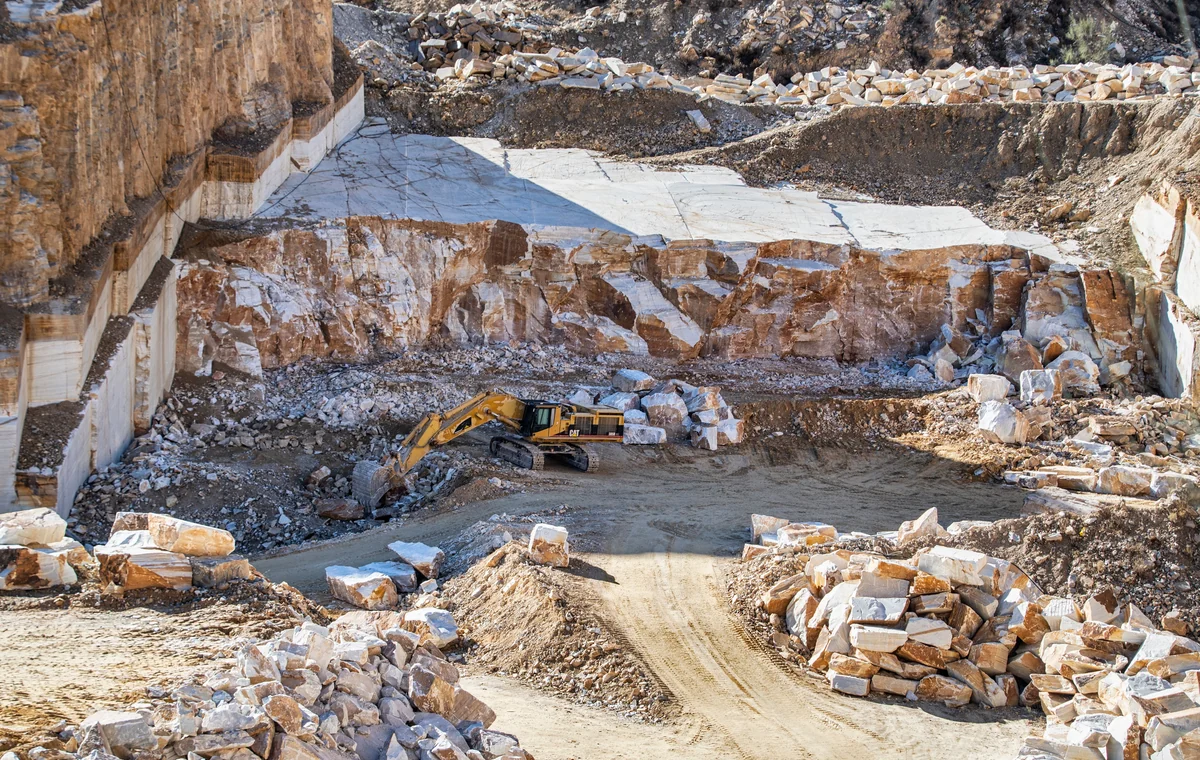
Rocky and abrasive ground
Fractured rock, stones and compacted mixed material requiring penetration and wear protection.
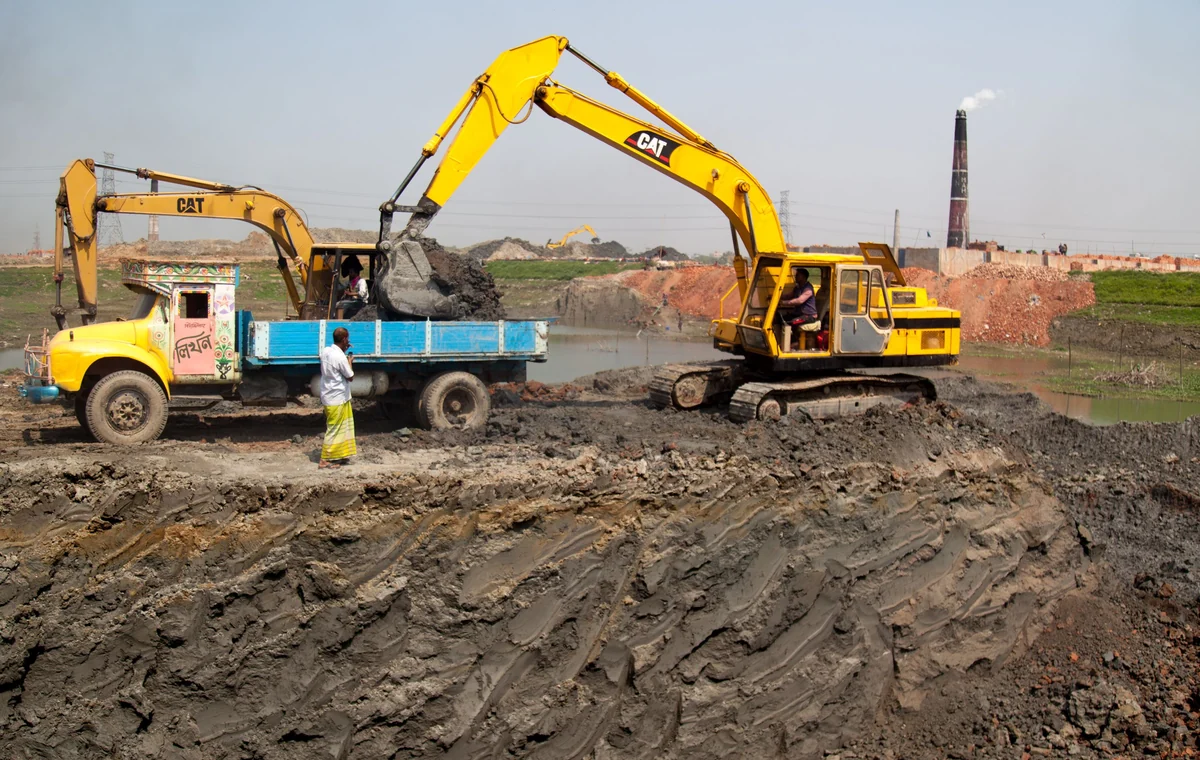
Loading and mass earthmoving
Repeated cycles into trucks or spoil piles where filling, retention and loaded mass determine output.
OPERATING PRACTICE
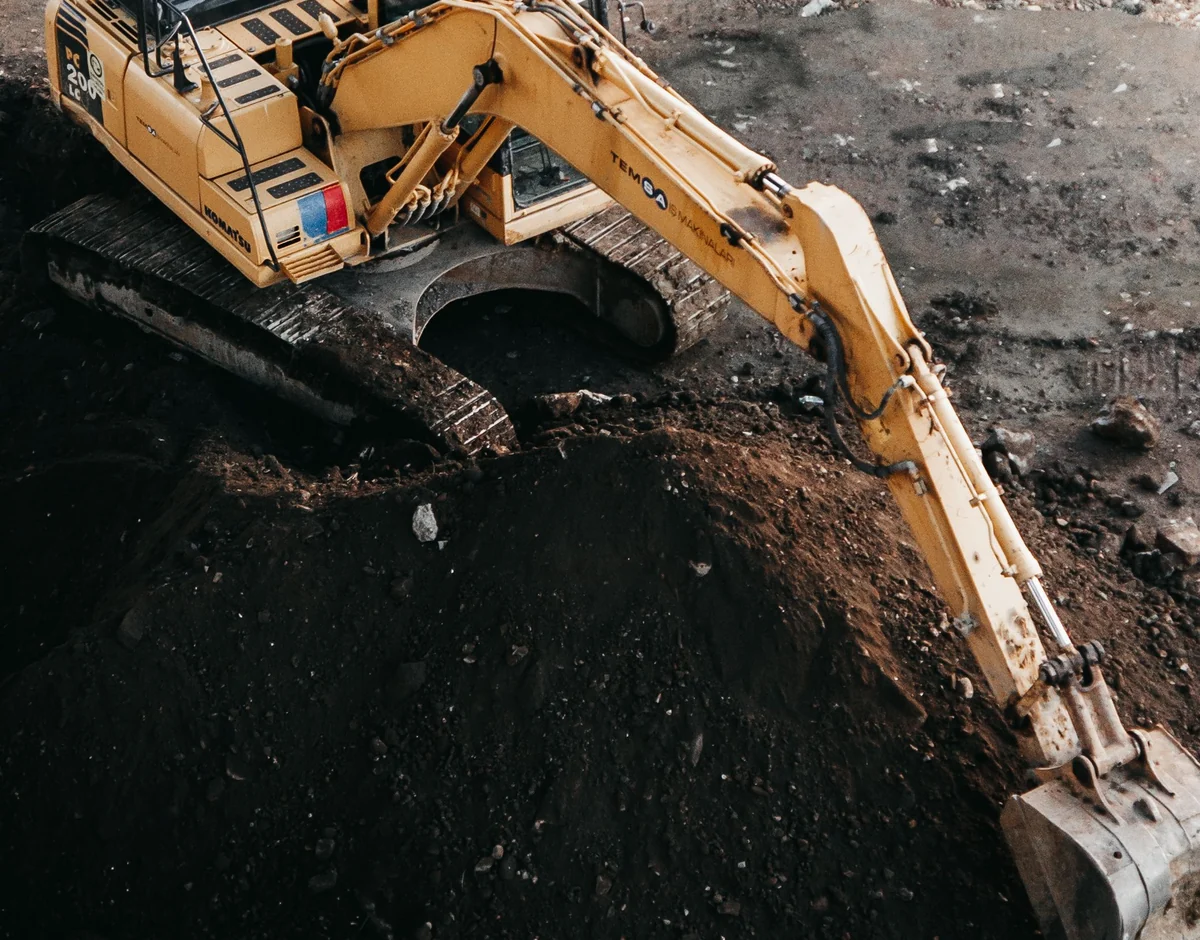
How to use a digging bucket effectively
Correct technique improves penetration, filling and wear life while reducing side loading and damage to the bucket, coupler and linkage.
Approach the cut with the bucket aligned. Use the teeth and cutting edge to start the cut rather than forcing a side plate or corner into the ground.
Fill through a controlled curl. Coordinate boom, arm and bucket movement so material flows into the shell instead of pushing a full bucket through the ground.
Avoid prying and side loading. Buckets are strongest in the intended digging direction. Twisting with one corner can damage ears, welds, pins, couplers and linkage components.
Carry low and travel smoothly. Keep the loaded bucket close to the ground and within the machine’s approved travel position.
Stop when wear protection is consumed. Replacing teeth, adapters or runners is cheaper than rebuilding the lip, floor or shell.
INSPECTION & SERVICE
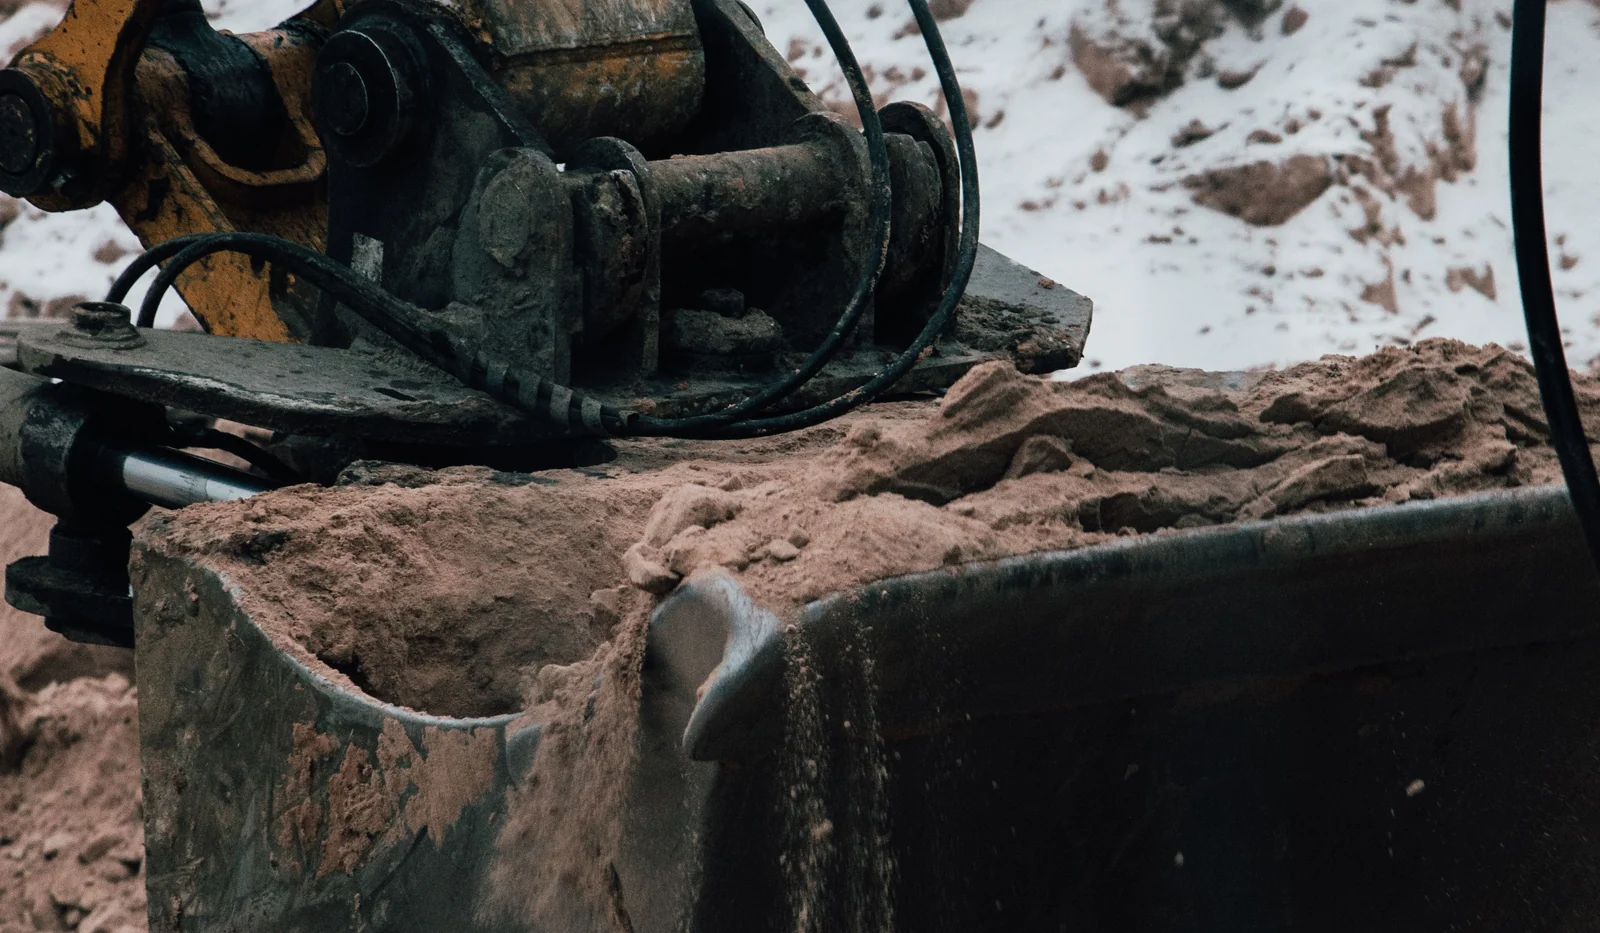
Digging bucket maintenance
A short inspection routine prevents replaceable wear parts from becoming structural bucket repairs.
Before each shift: check teeth, retainers, adapters, cutting edge, side cutters, coupler engagement, pins and visible welds.
After abrasive work: clean packed material and inspect the lip, corners, side plates, bottom strips and heels for uneven wear or cracking.
Measure wear: replace points, adapters and bolt-on edges before the base material is exposed. Use the applicable wear limits rather than visual judgement alone.
Inspect mounting parts: excessive movement at pins, bushings or the coupler changes bucket control and increases impact loading.
Repair correctly: structural welding should follow an approved procedure that considers material grade, preheat, filler material and distortion.
TROUBLESHOOTING
Common digging bucket problems
Poor performance is not always caused by the bucket alone. Check the machine, coupler, material and operating method together.
ISSUE 01
Poor penetration
Bucket too wide, worn or unsuitable teeth, blunt cutting edge, excessive floor angle or a duty design that is too heavy for the carrier.
ISSUE 02
Bucket will not fill
Incorrect attack angle, sticky material, unsuitable shell shape, worn teeth or a bucket that is too large for the available force.
ISSUE 03
Material will not release
Cohesive soil, insufficient side taper, rough internal surfaces or a shell profile that retains the material.
ISSUE 04
Uneven tooth or edge wear
Misalignment, side loading, worn linkage, bent lip, incorrect tooth installation or consistently digging with one corner.
ISSUE 05
Cracks around ears or top structure
Loose pins, coupler movement, prying, impact, poor prior repairs or a bucket not designed for the carrier forces.
ISSUE 06
Rapid bottom and heel wear
Abrasive material, dragging the bucket, insufficient wear strips or operating after protective parts are consumed.
FINAL DECISION
Digging bucket selection checklist
Use this sequence before requesting a quotation or approving a bucket for the machine.
STEP 1
Define the excavation
Record the task, required width and depth, reach, production target and working conditions.
STEP 2
Describe the material
Identify density, moisture, compaction, abrasiveness, stones, rock and expected impact.
STEP 3
Confirm the carrier
Use the exact machine model and working configuration, including boom, arm, counterweight and undercarriage.
STEP 4
Confirm the interface
Specify direct pin, coupler or tiltrotator, all pickup dimensions and the locking system.
STEP 5
Choose the bucket configuration
Select width, capacity, duty class, shell geometry, teeth, cutting edge and wear protection.
STEP 6
Calculate the loaded condition
Include bucket, coupler, tiltrotator and realistic material load at the intended working radius.
STEP 7
Check maintenance support
Confirm local availability of teeth, adapters, edges, pins, bushings and repair information.
STEP 8
Obtain final approval
Verify the proposed combination against carrier, coupler and bucket documentation before use.
| Information to provide | Example detail |
|---|---|
| Carrier | Exact manufacturer, model and configuration |
| Interface | Coupler type or pin and ear dimensions |
| Material | Density, moisture, abrasion and rock content |
| Work | Trench width, depth, reach and production duty |
| Bucket | Width, rated capacity, mass, teeth and wear package |
| Combination | Installed mass and realistic loaded mass |
SAFETY
Safety considerations
Bucket work combines moving machinery, suspended material, unstable ground and a detachable attachment. Site rules and manufacturer instructions must control the operation.
Keep people outside the machine’s swing and working radius. Never pass a loaded bucket over people, occupied vehicles or unsupported structures.
Verify that the coupler or pin retention is fully engaged before work. Use the prescribed visual or physical lock check after every attachment change.
Do not use bucket teeth, a cutting edge or an unapproved lifting point for suspended loads. Use rated lifting equipment and the machine’s approved lifting procedure.
Account for slopes, soft ground, excavated edges, underground services, overhead hazards and reduced stability at long reach or over the side.
FAQ
Frequently asked questions about digging buckets
These answers are general. The exact machine, coupler and bucket documentation remains controlling for a specific installation.
How do I choose the right digging bucket size?
Start with the carrier manufacturer’s approved range, then check required cut width, material density, bucket mass, realistic loaded mass, coupler weight and stability at the intended working radius.
Does a wider bucket always increase production?
No. A wider bucket can reduce cycles in easy material, but it can also reduce penetration, fill poorly and exceed machine or stability limits.
What is the difference between a digging bucket and a grading bucket?
A digging bucket is shaped for penetration and repeated excavation. A grading bucket is normally wider with a smoother edge for levelling, shaping and cleanup.
Should a digging bucket have teeth?
Use teeth where penetration is important. A smooth edge can be better for soft ground, clean trench bottoms or reduced snagging.
Can any bucket fit excavators in the same tonnage class?
No. Pickup geometry, linkage, coupler type, operating mass, capacity, forces and approved limits can differ between machines with similar advertised weight.
What does heavy-duty or severe-duty mean?
There is no universal rating. Compare actual plate, lip, tooth, reinforcement, wear protection, mass and the manufacturer’s approved application.
Can I use a digging bucket on a tiltrotator?
Yes, when the bucket interface, tiltrotator and carrier are an approved combination. Include the extra mass, offset and leverage in the assessment.
When should bucket teeth be replaced?
Replace them before wear reaches the adapter or base structure and while the retention system can still be serviced safely. Follow the wear limits for the installed tooth system.
Why is my bucket cracking around the ears?
Possible causes include loose pins, coupler movement, side loading, prying, impact, excessive carrier force or an unsuitable repair. Stop work and inspect the complete mounting system.
Is bucket capacity measured struck or heaped?
Specifications may state struck and heaped capacities. Use the manufacturer’s stated method and calculate with the realistic fill and density for the actual material.
CONTINUE EXPLORING
Related guides and directories
Compare digging buckets with nearby attachment categories and machine guides.
MACHINE GUIDE
Excavator Attachments
Explore buckets, breakers, grapples, compactors, augers and other excavator tools.
CATEGORY GUIDE
Earthmoving Attachments
Compare attachments for digging, trenching, grading, ripping, drilling and compaction.
ATTACHMENT DIRECTORY
All Attachments
Browse the complete attachment directory by equipment type.
WORK-BASED ROUTES
Applications
Find attachments by the job that needs to be completed.
FINAL CHECK
Match the bucket to the complete machine
Before purchasing or operating a digging bucket, verify the exact carrier, mounting interface, installed attachment mass, material, width, capacity, loaded condition, duty class and wear system.